

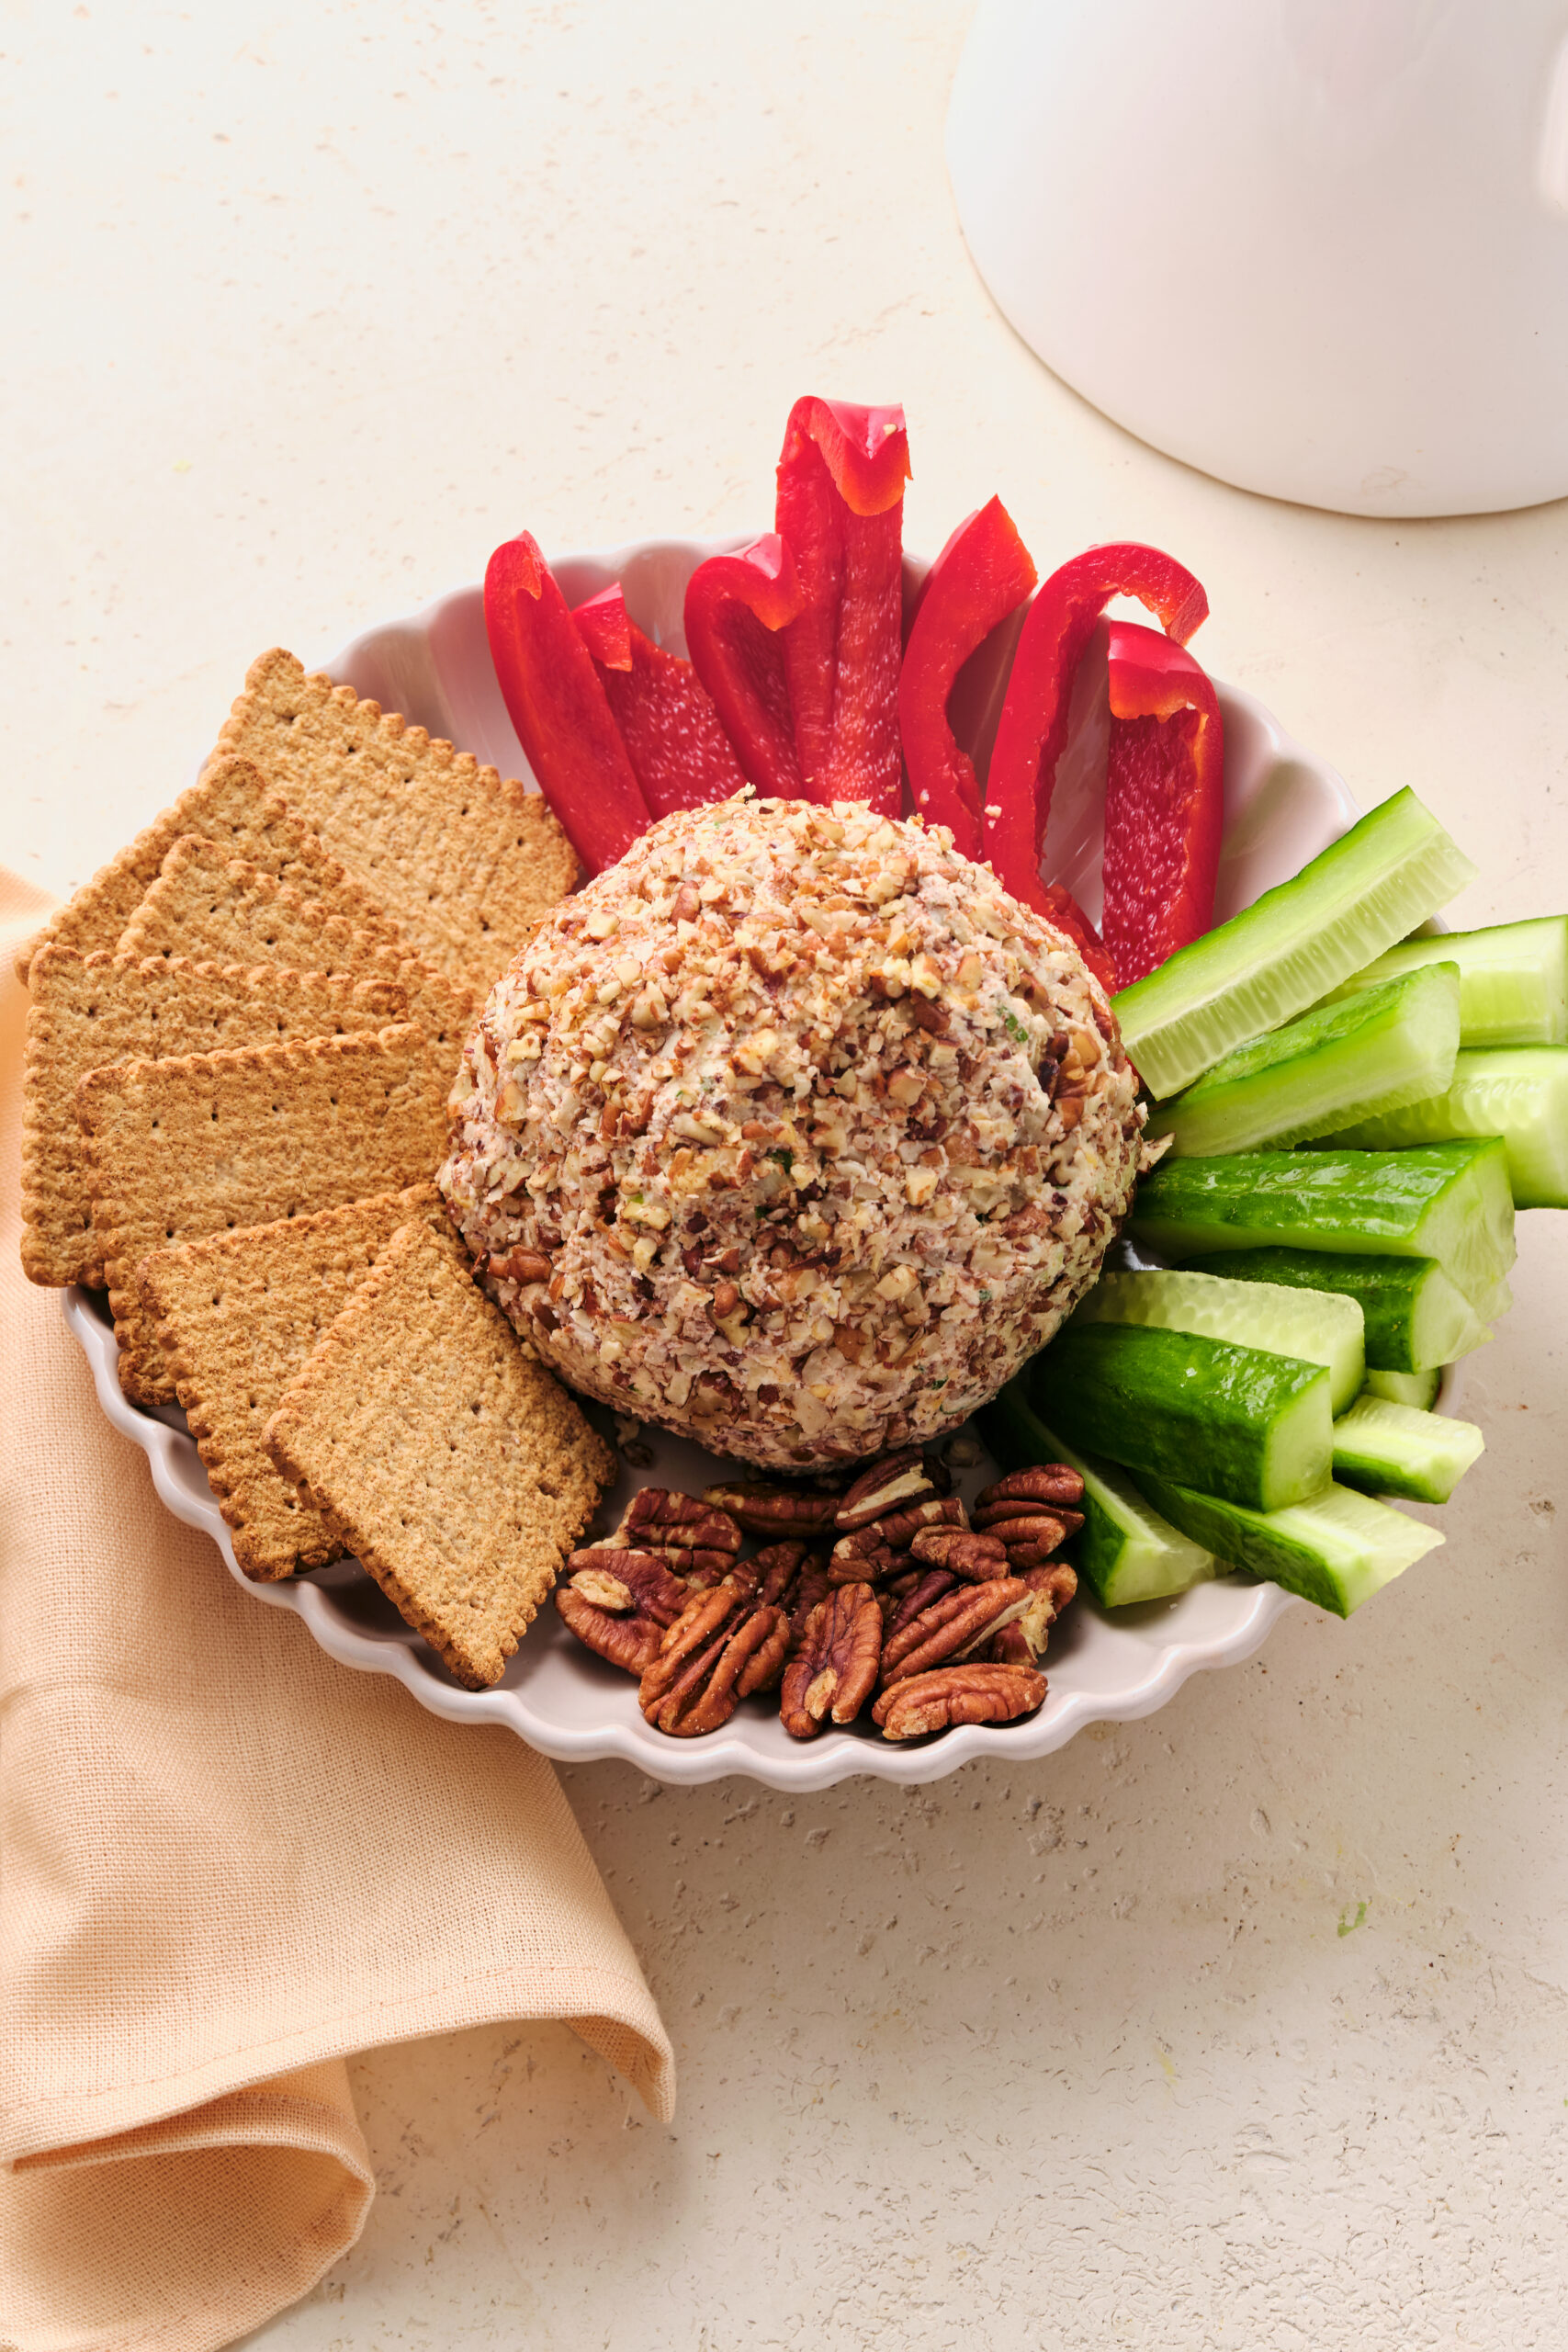
Dish out this epic appetizer for the holidays and impress your guests with how luxurious it tastes!
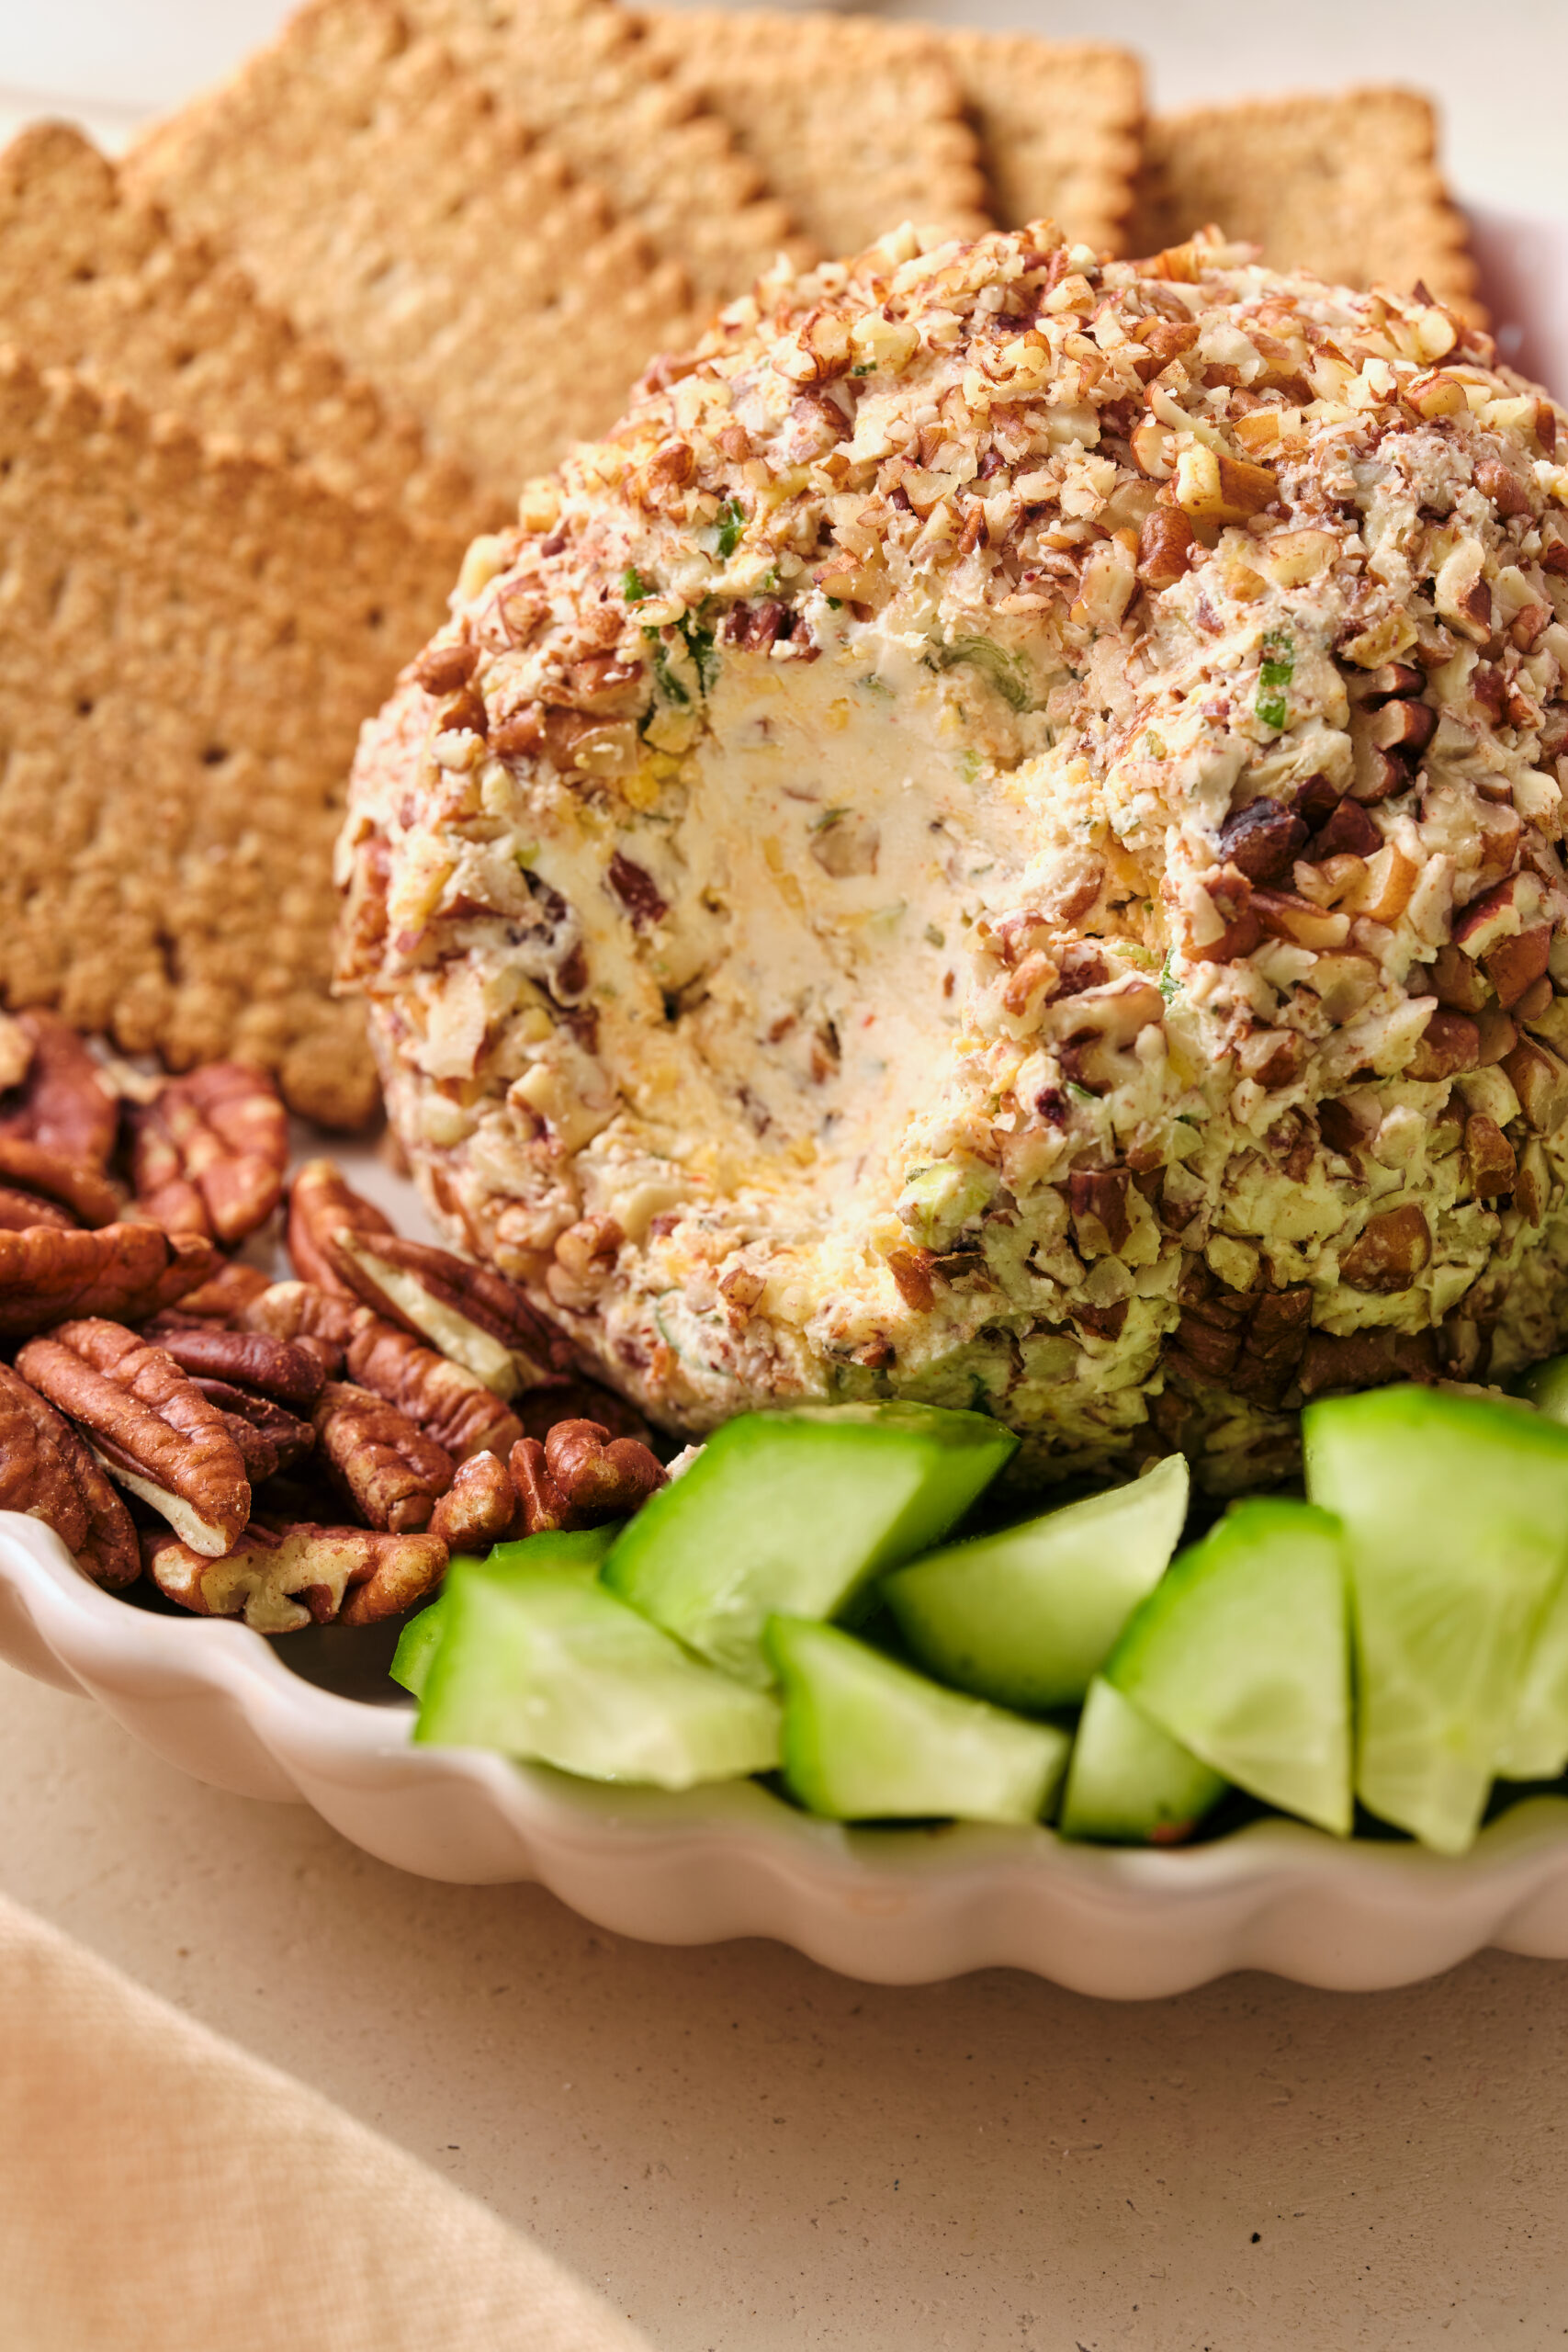
At first glance, it might seem crazy—why would anyone want a giant ball of cheese covered in nuts for a holiday appetizer? At least, that’s what I used to think. But ever since tasting the savory, creamy sphere for myself, I have zero concerns or complaints. This heaping helping of jazzed-up cheese rivals even the best dips and sauces out there. Why? Because not only is it fun to look at—it’s fun to eat! With a mouthwatering mix of flavors and textures that make every bite more enticing than the last, this fancy but easy cheese ball is a winner for pre-dinner snacking.
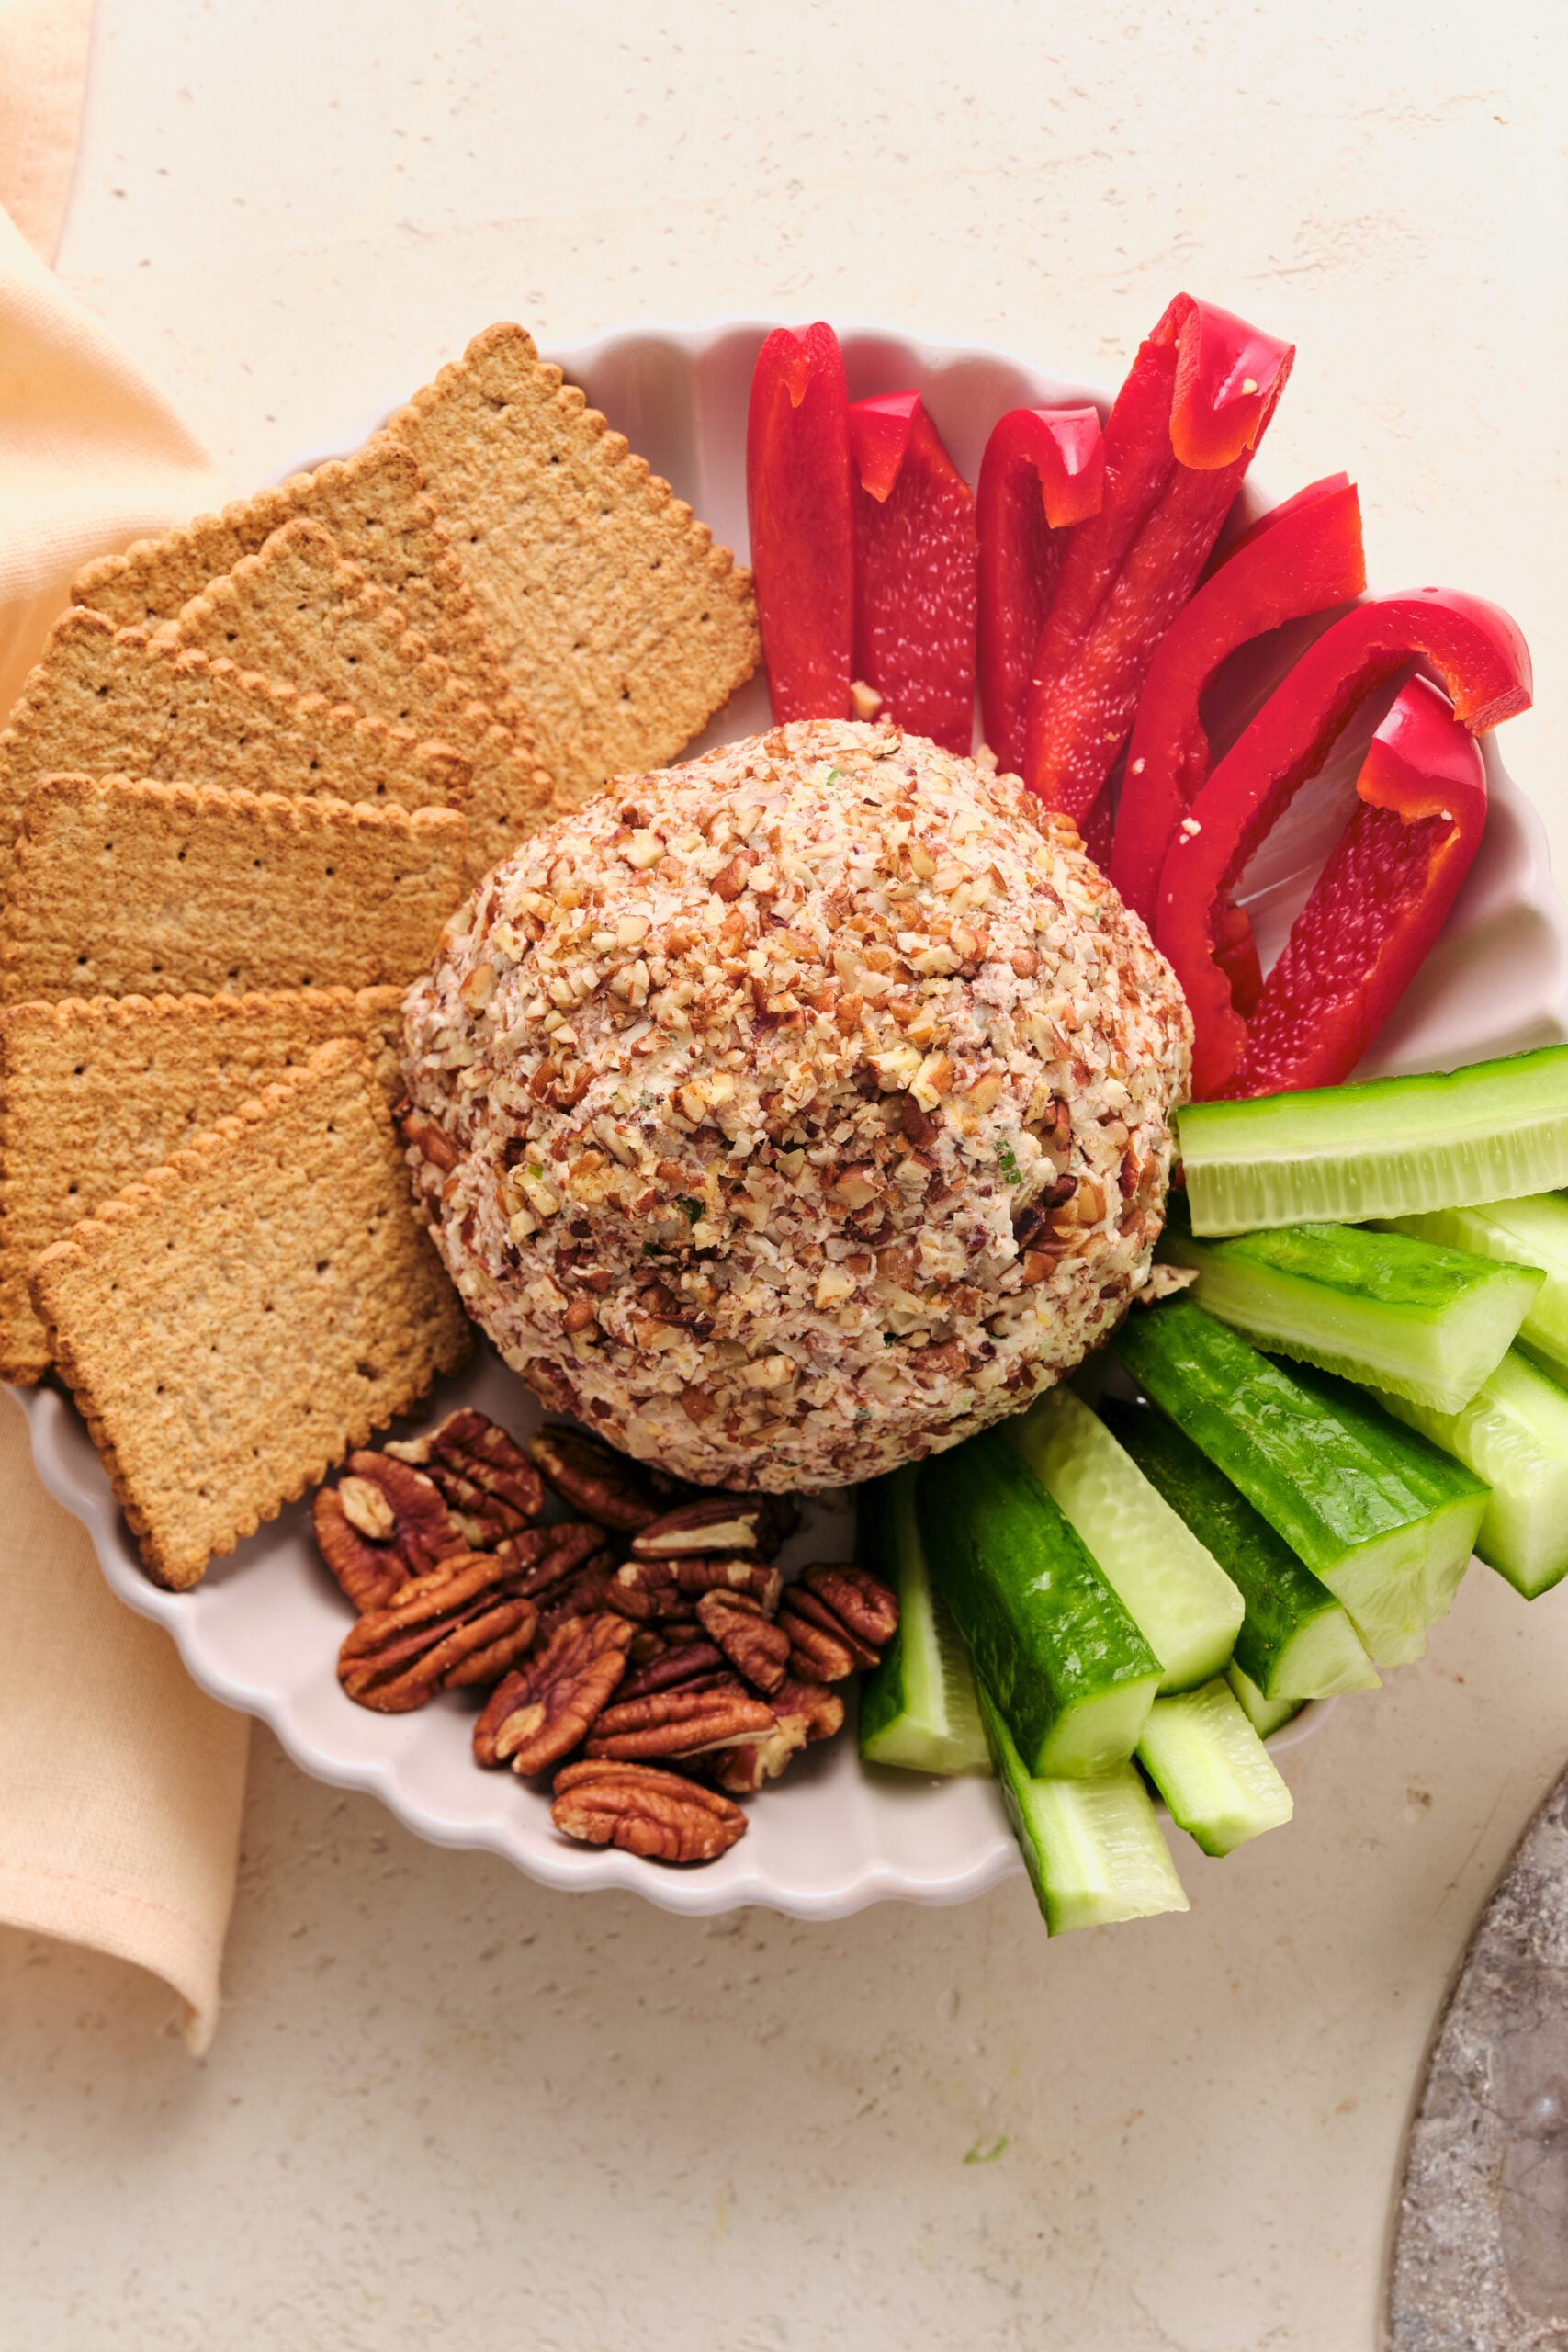
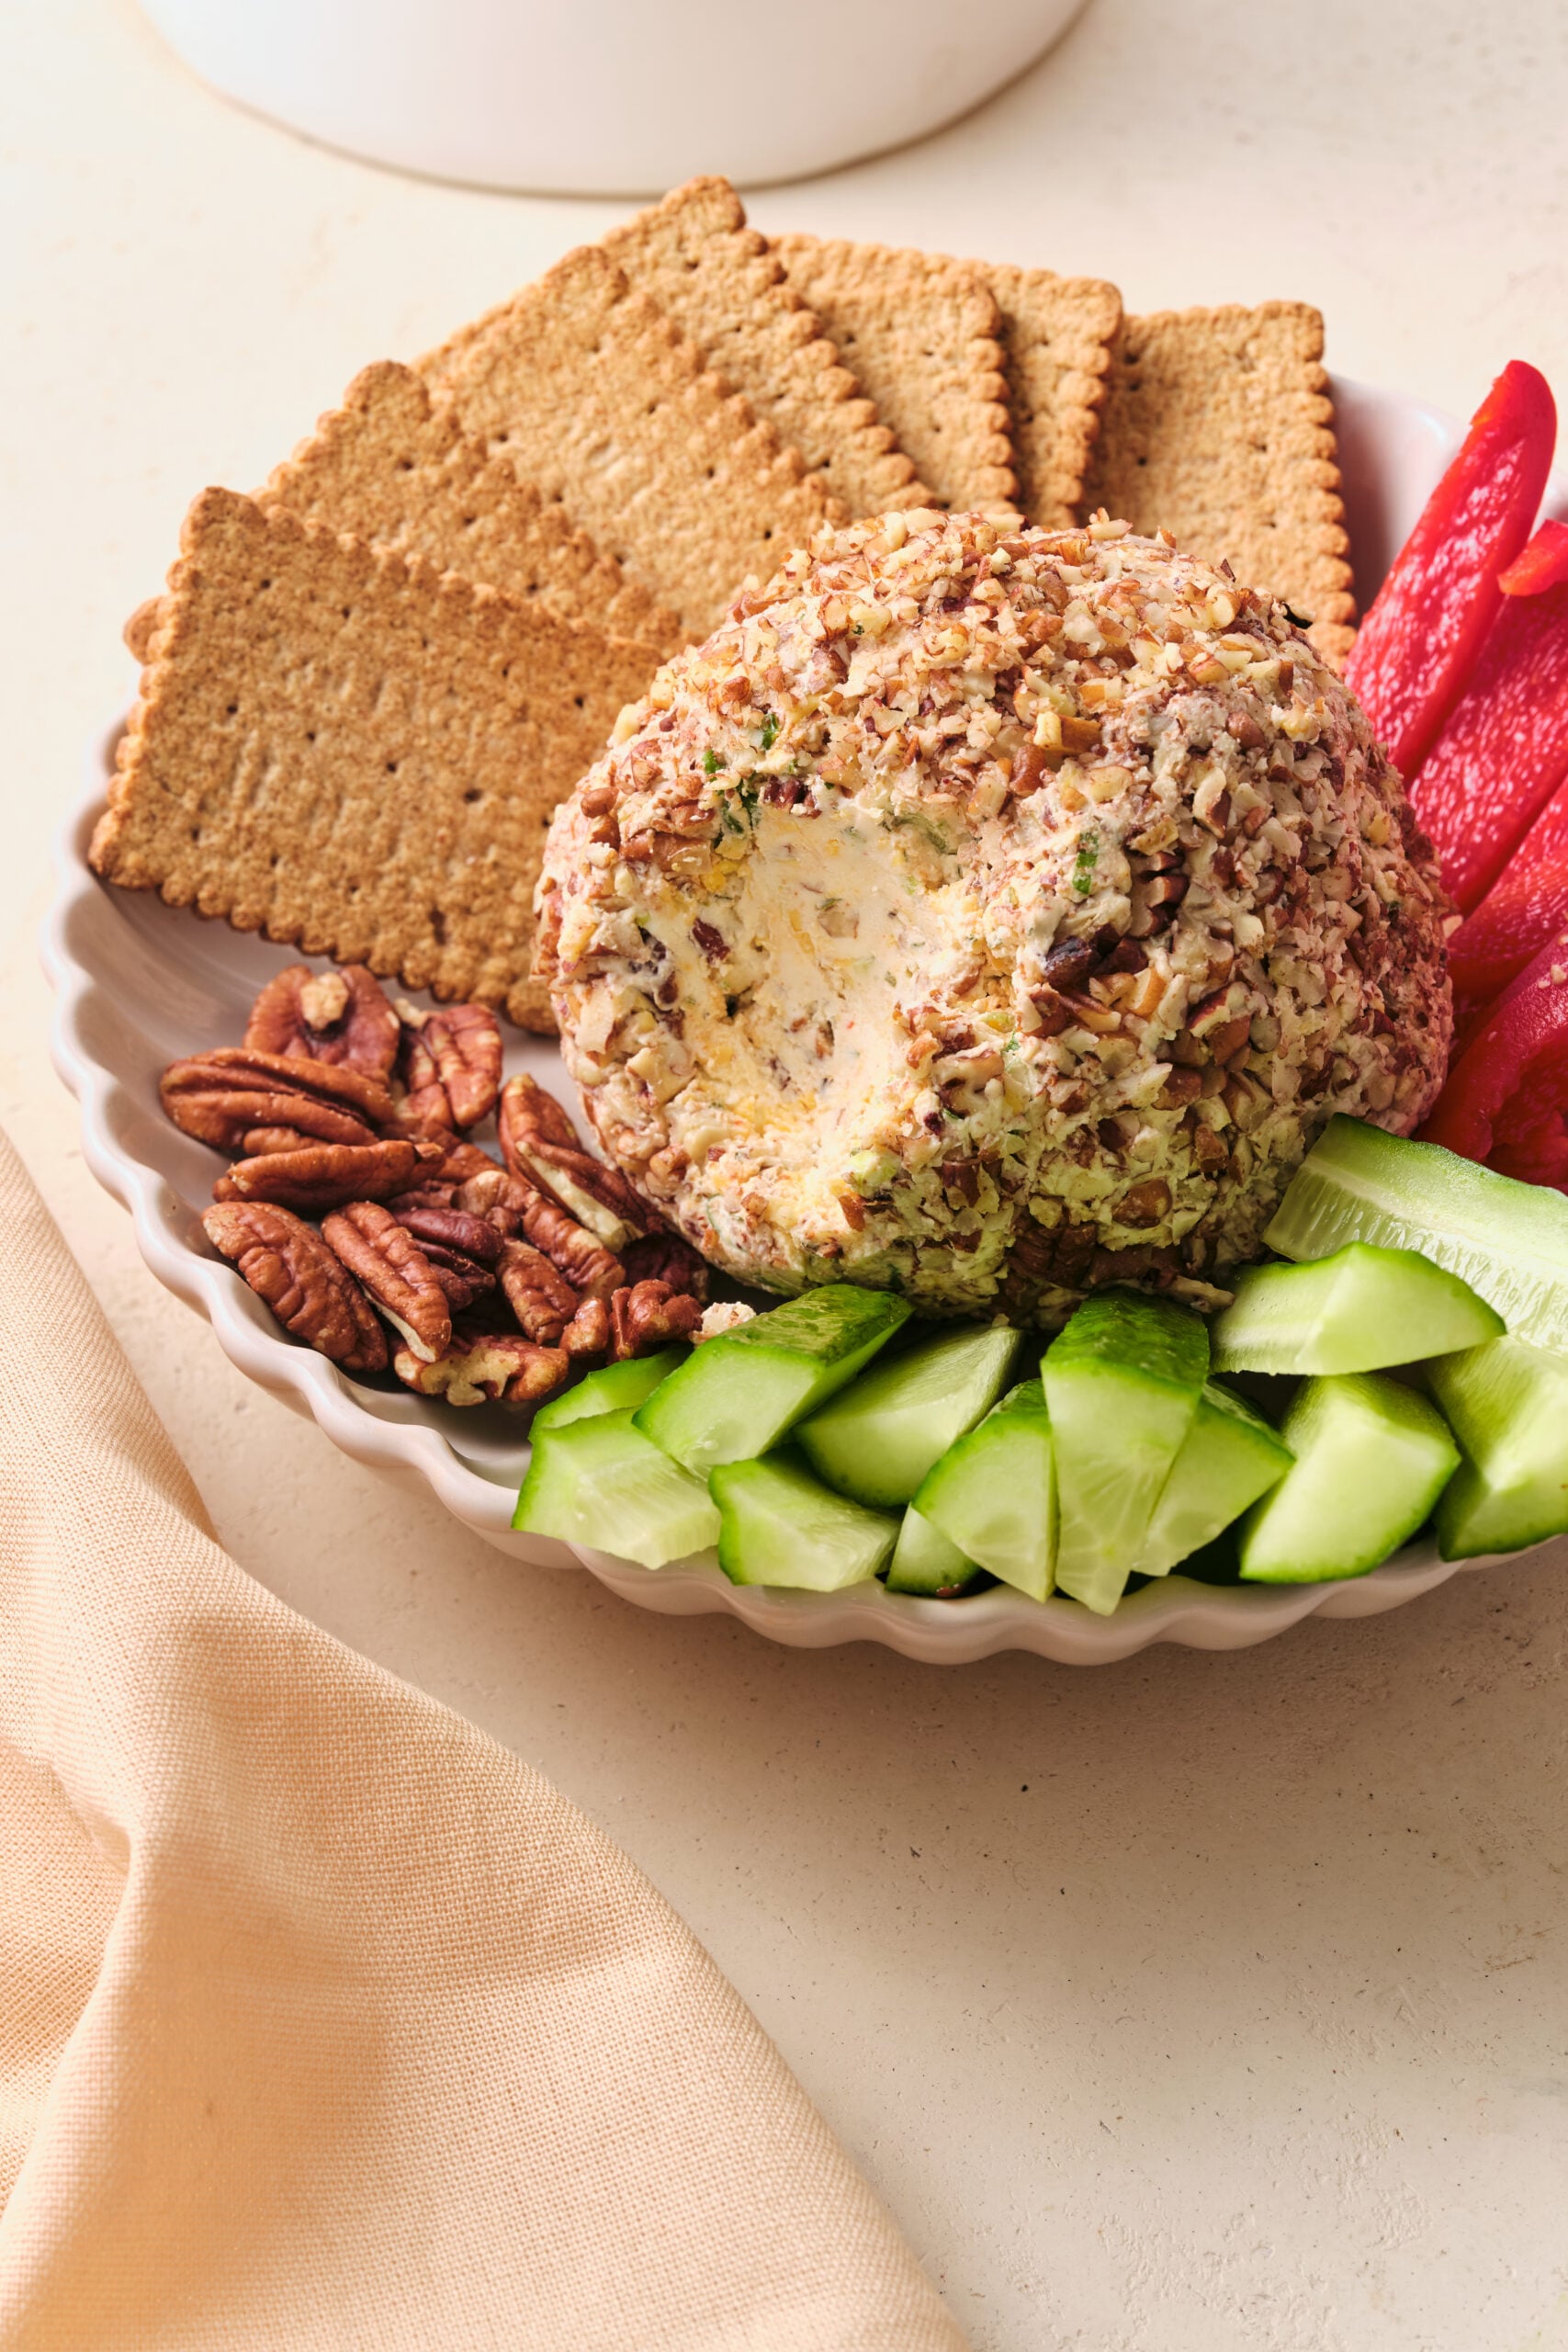
Not too hard and not too soft, bursting with spicy and savory flavors, this homemade cheese ball goes great with all kinds of dippable treats. Think veggie sticks, crackers, or bread. All of this can be arranged on a platter, with the ball at the center, for a dazzling appetizer that tastes as lovely as it looks. I enjoy crafting this recipe because it’s very hands-on—literally, you need to shape the ball with your hands. So, I like to put a lot of love into it, knowing that each bite my guests take will have been pressed with joy and appreciation. No matter what kind of celebration comes your way, keep this cheese ball recipe handy so you can impress your guests with its cheesy, nutty flavor and fun.
The cheese ball’s rich history
Did you know that cheese balls may have been around for over a century? Supposedly, they were first enjoyed during the early 1800s, but they really took off in the 1940s when the first recipes began appearing in print. By the 1980s, they’d become associated with dinner parties, and after a period of declining popularity, they experienced something of a revival in the 2010s. Modern chefs have pinned it down as the perfect party food for folks who regularly host guests, because if you have some cheese ball left over, you can easily save it and reshape it for the next day. Kind of “like recycling,” as Martha Stewart puts it. So, if you have back-to-back parties coming up, keep this recipe close!
How do I store leftovers?
Wrap your leftover cheese ball with plastic wrap or tuck it into a Ziploc bag, being careful to press out any excess air. Refrigerate it for 2-3 days, and then serve it cold or at room temperature. I don’t recommend freezing it, since this would likely make the nuts outside soggy.
Similar recipes to try
If you’re craving a creamy dip instead of a cheese ball, then try Cottage Cheese Dip or Greek Yogurt Dip. All three of these velvety appetizers taste delightful with sliced veggies, crackers, or bread. On the other hand, if you’d like less savoriness and more sweetness, then whip up some mouthwatering Cinnamon Pecans for your guests to munch on.
Cheese Ball Recipe

Ingredients
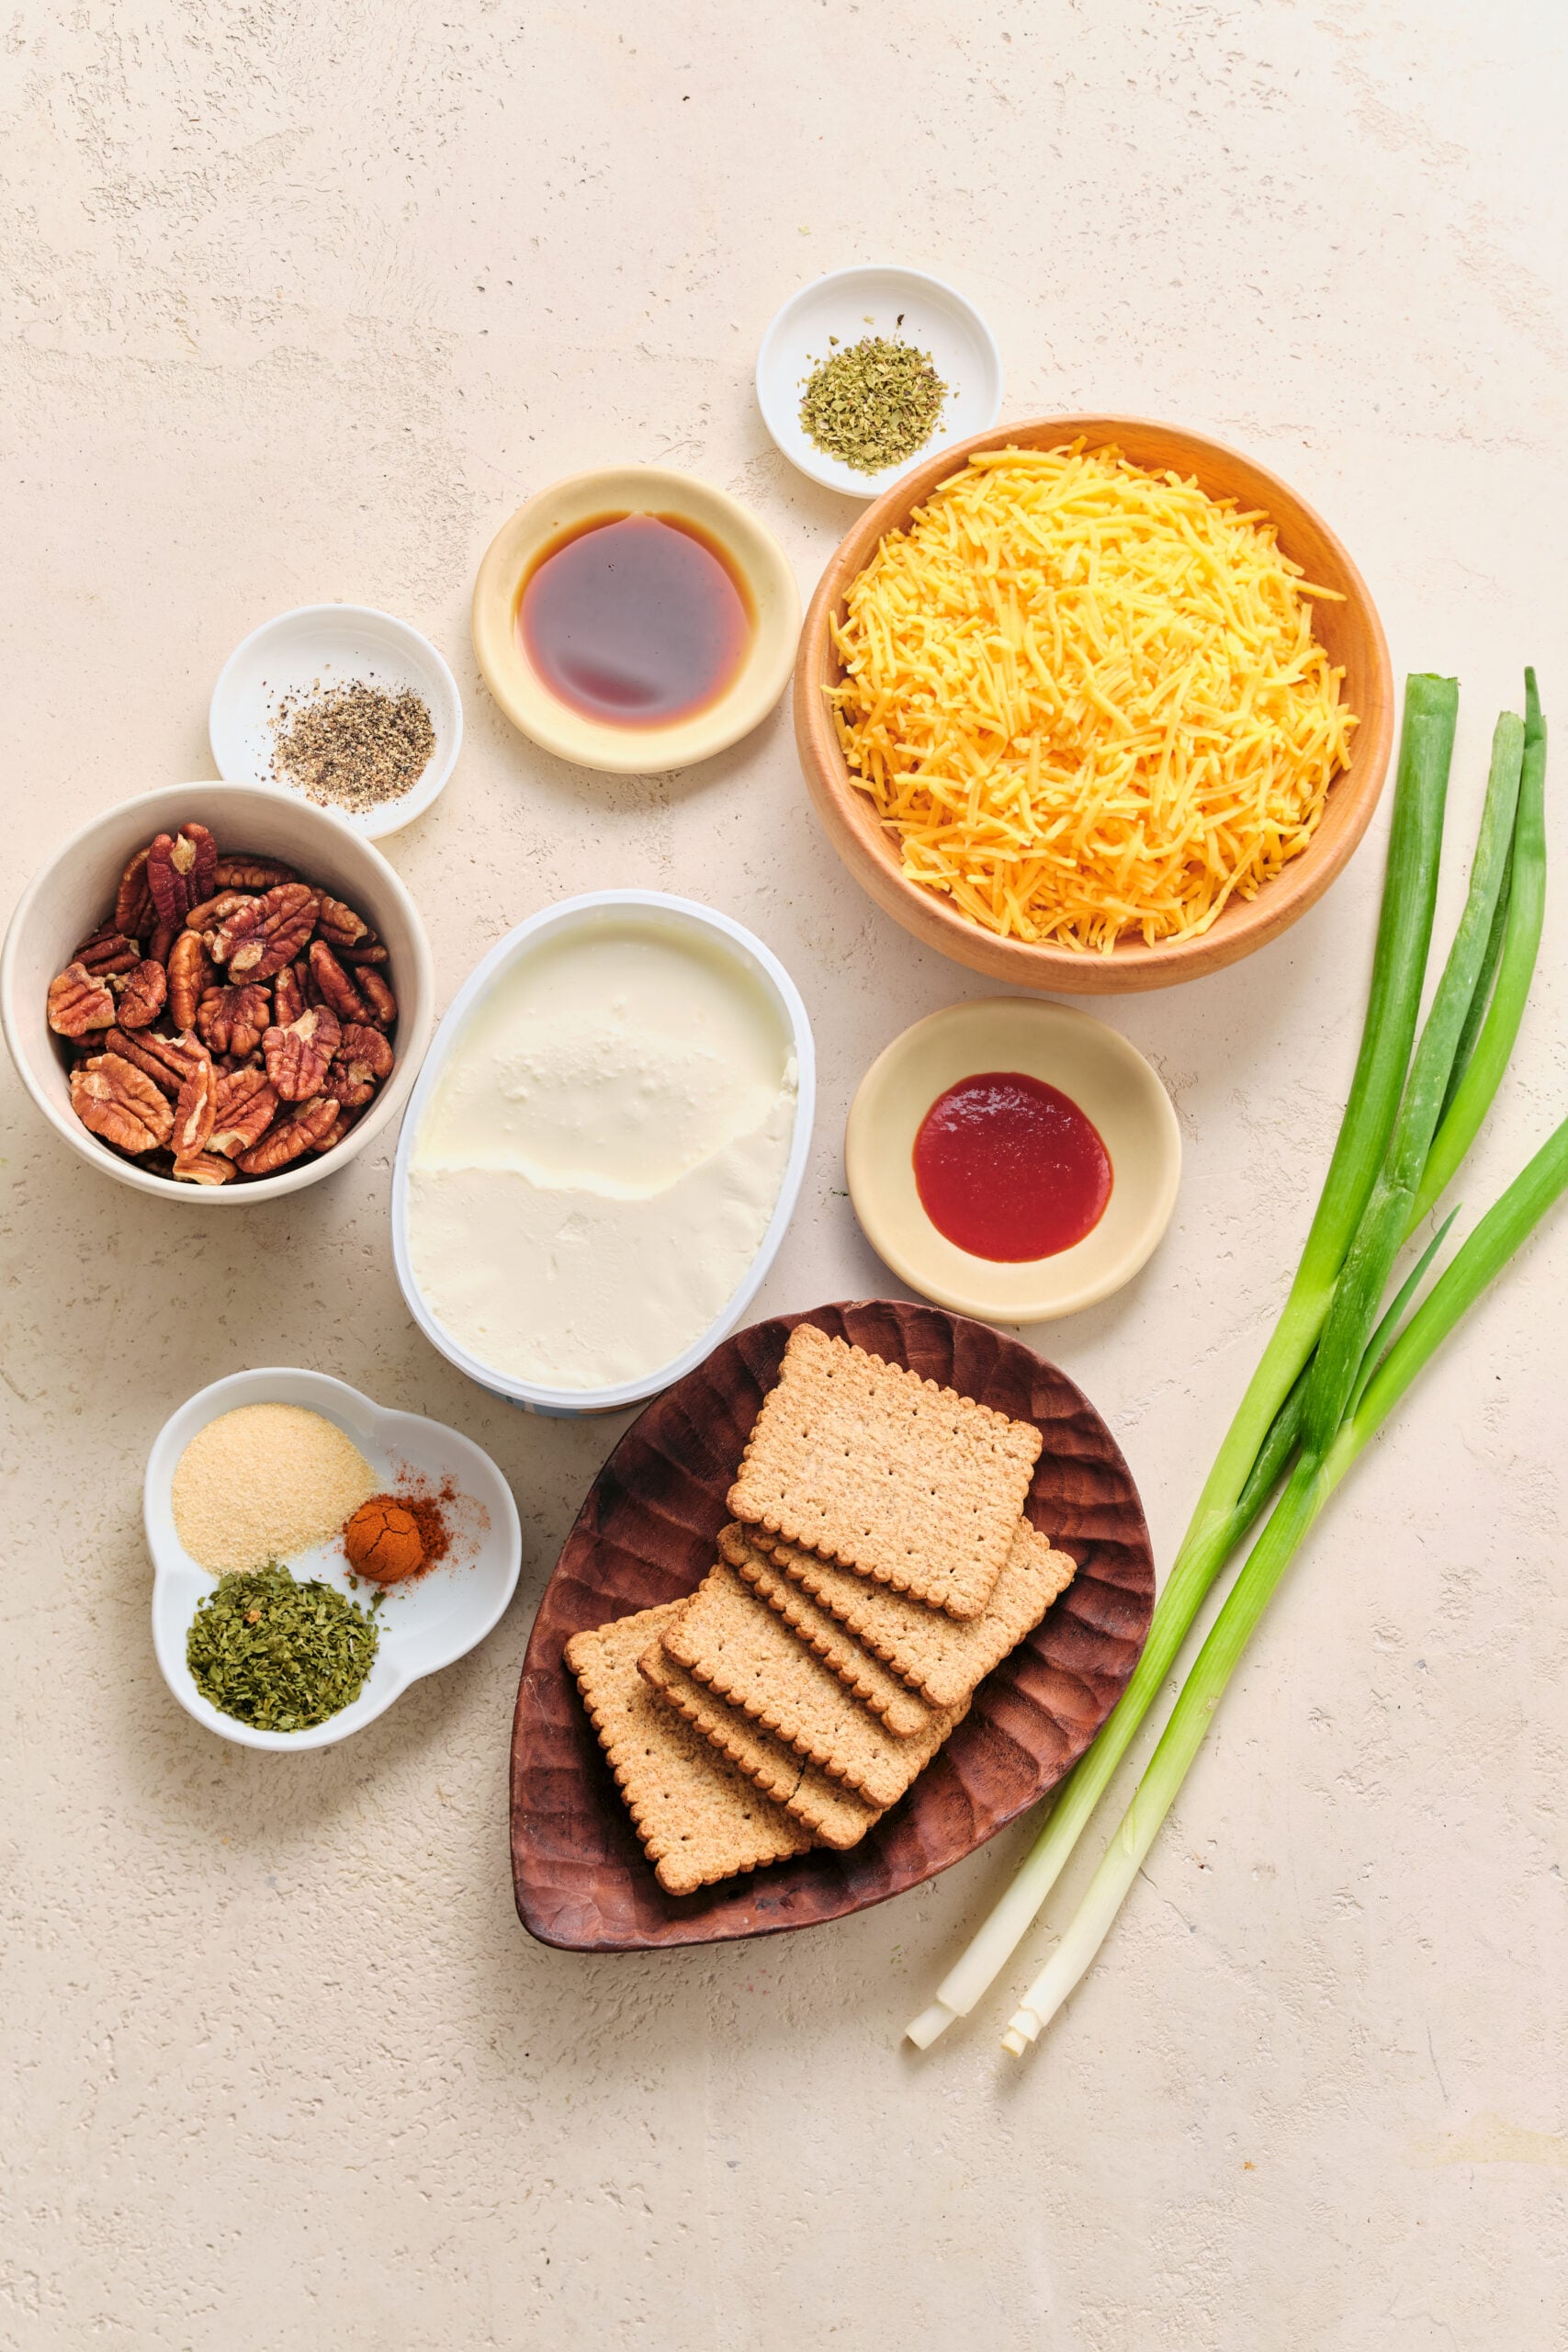
- 16 ounces cream cheese softened
- 1 3/4 cups shredded cheddar cheese
- 2 green onions chopped
- 1 teaspoon Worcestershire sauce
- 1 teaspoon hot sauce
- 3/4 teaspoon dried parsley flakes
- 1 pinch paprika
- 3/4 teaspoon garlic powder
- 1/2 teaspoon dried oregano
- 1 pinch freshly ground black pepper
- 2/3 cup finely chopped pecans
- Crackers, chips, or veggies like celery sticks (for dipping)
Instructions
- In a large bowl, mix the softened cream cheese, shredded cheddar cheese, chopped green onions, Worcestershire sauce, hot sauce, dried parsley, paprika, garlic powder, dried oregano, and black pepper until smooth and well blended.
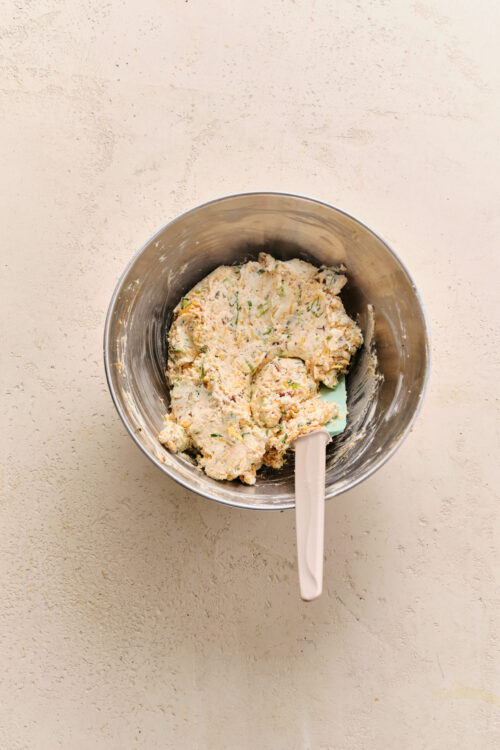
- Lightly grease your hands and gather the mixture to form a round ball.
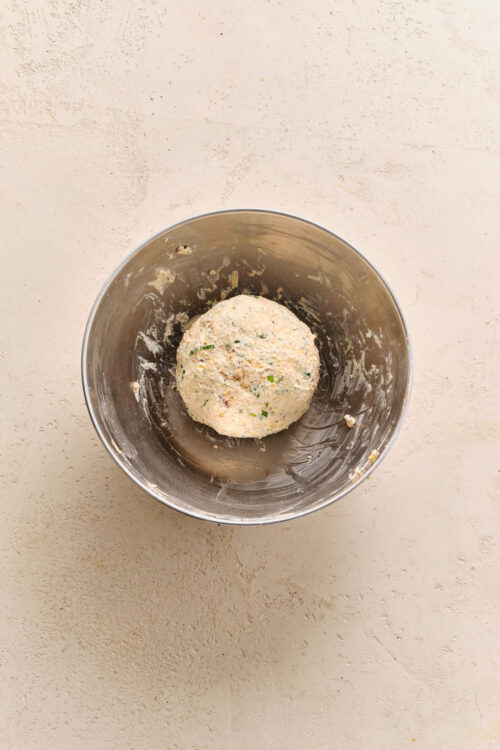
- Place the chopped pecans on a plate. Roll the cheese ball in the pecans until it is evenly coated. You can also hold the cheese ball in one hand, scoop pecans onto it with the other, press gently, and turn to coat all sides.
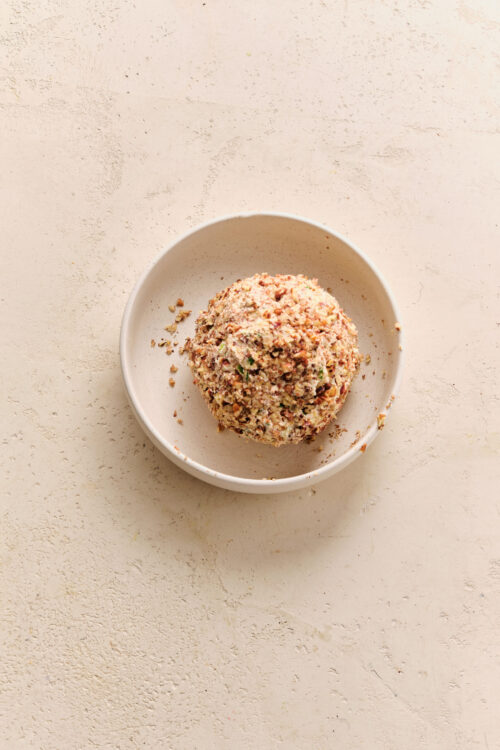
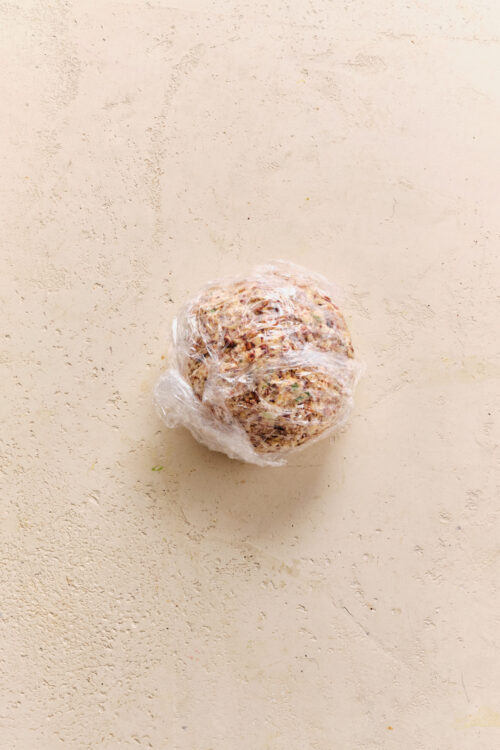
- Wrap the cheese ball in plastic wrap and chill in the refrigerator for at least 1 hour. Remove it about 20 minutes before serving so it softens slightly. Serve with crackers, chips, or fresh vegetable sticks.



Leave a Comment