What makes a better appetizer or side than buttery, golden slices of Garlic Toast?
Since getting married, one of my husband’s most highly requested side dishes has been garlic bread. But there are many ways to craft it, so I’ve been exploring a couple of different methods. I first tried toasting the bread and then spreading garlic butter on it, but that wasn’t nearly as delectable as baking the buttered bread briefly in the oven, which is exactly what this recipe calls for.
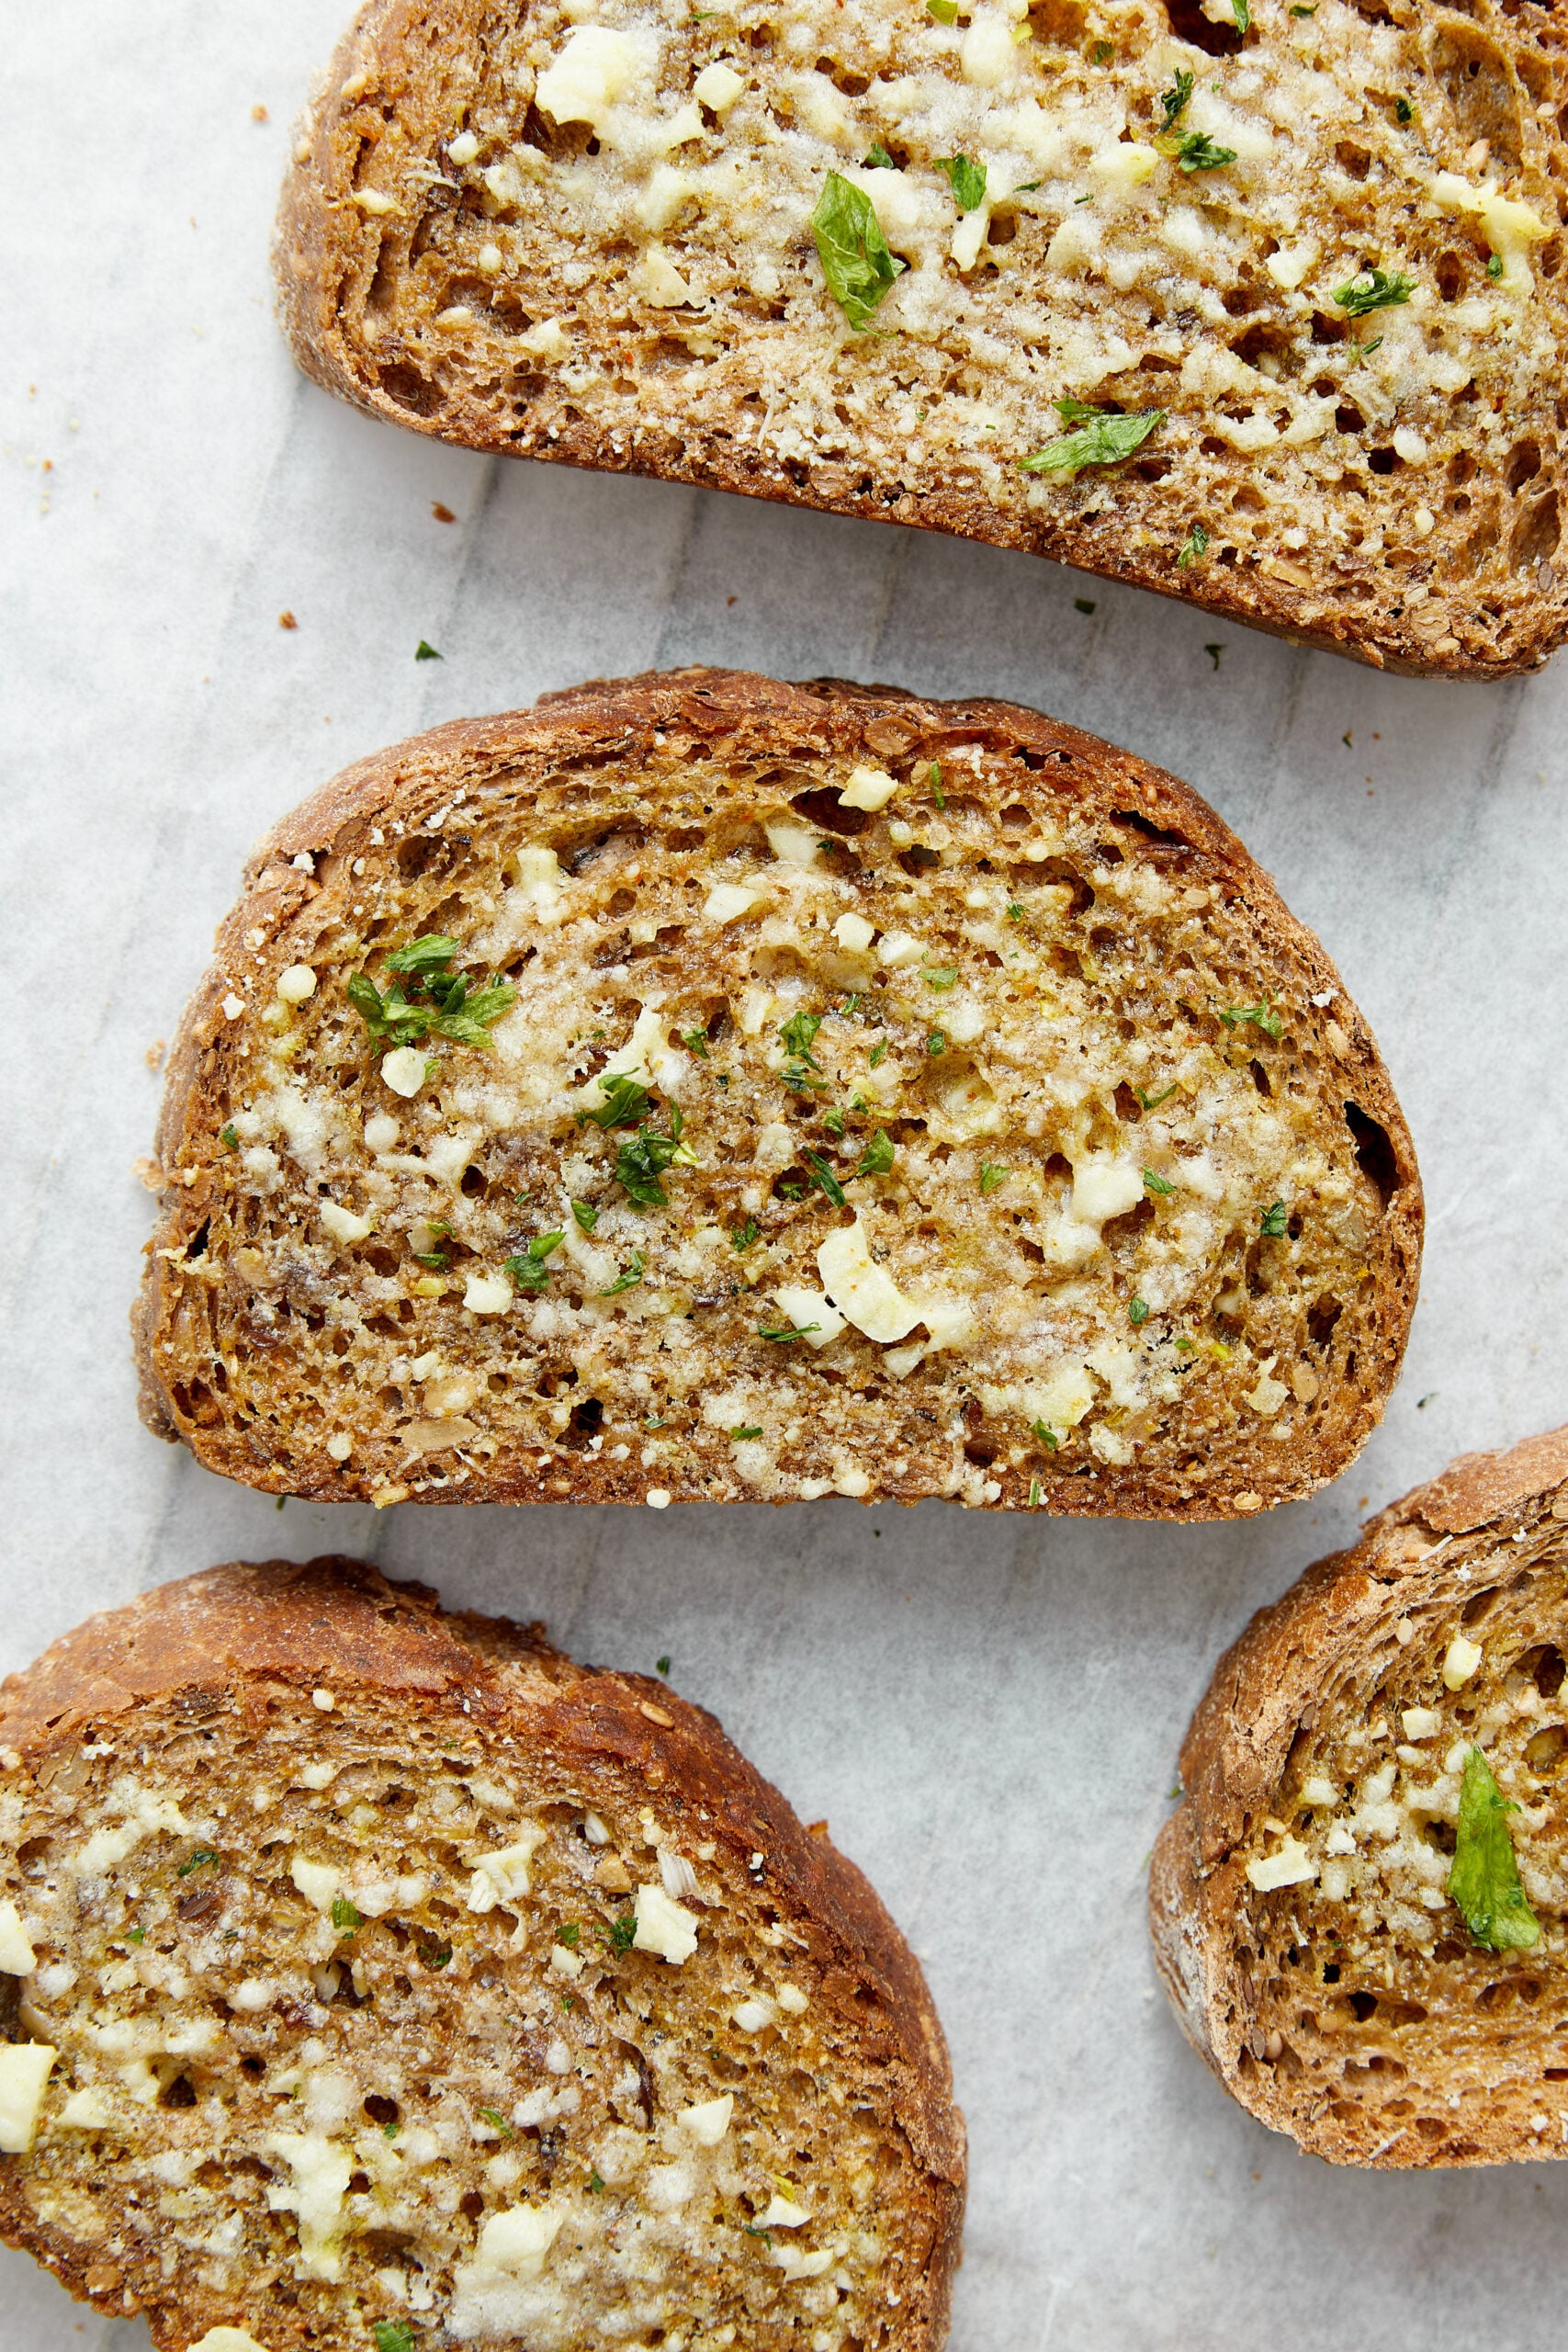
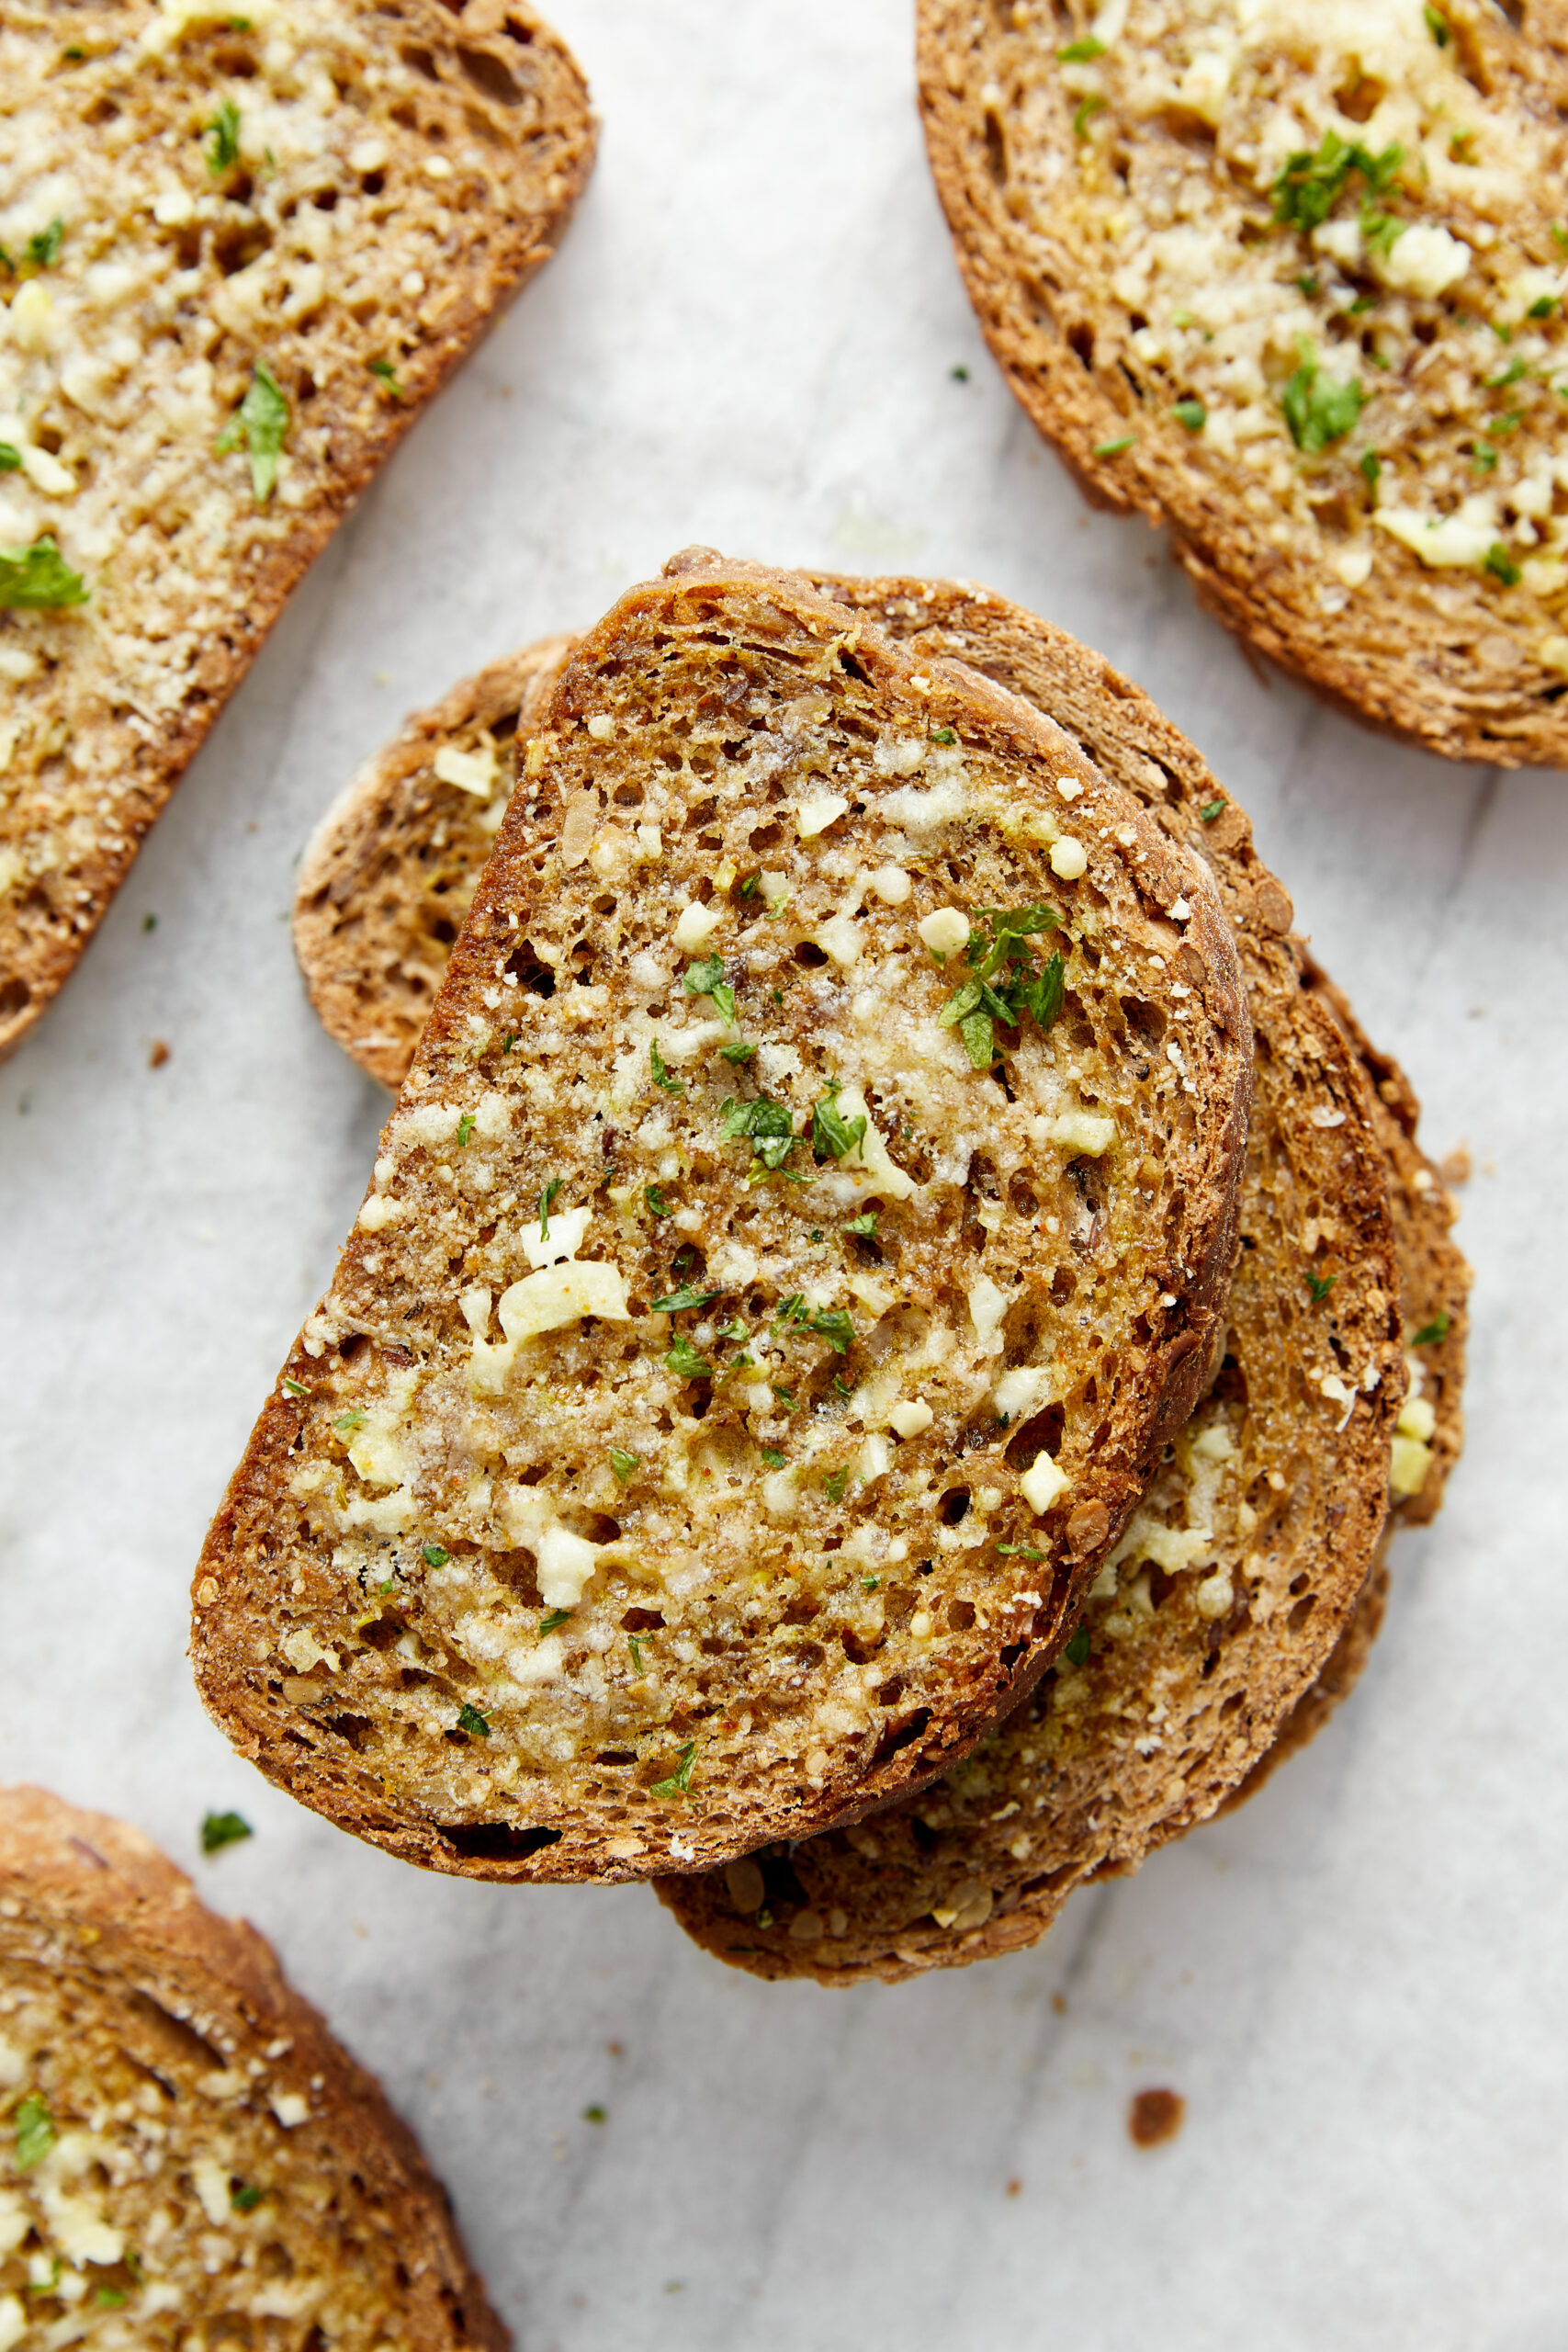
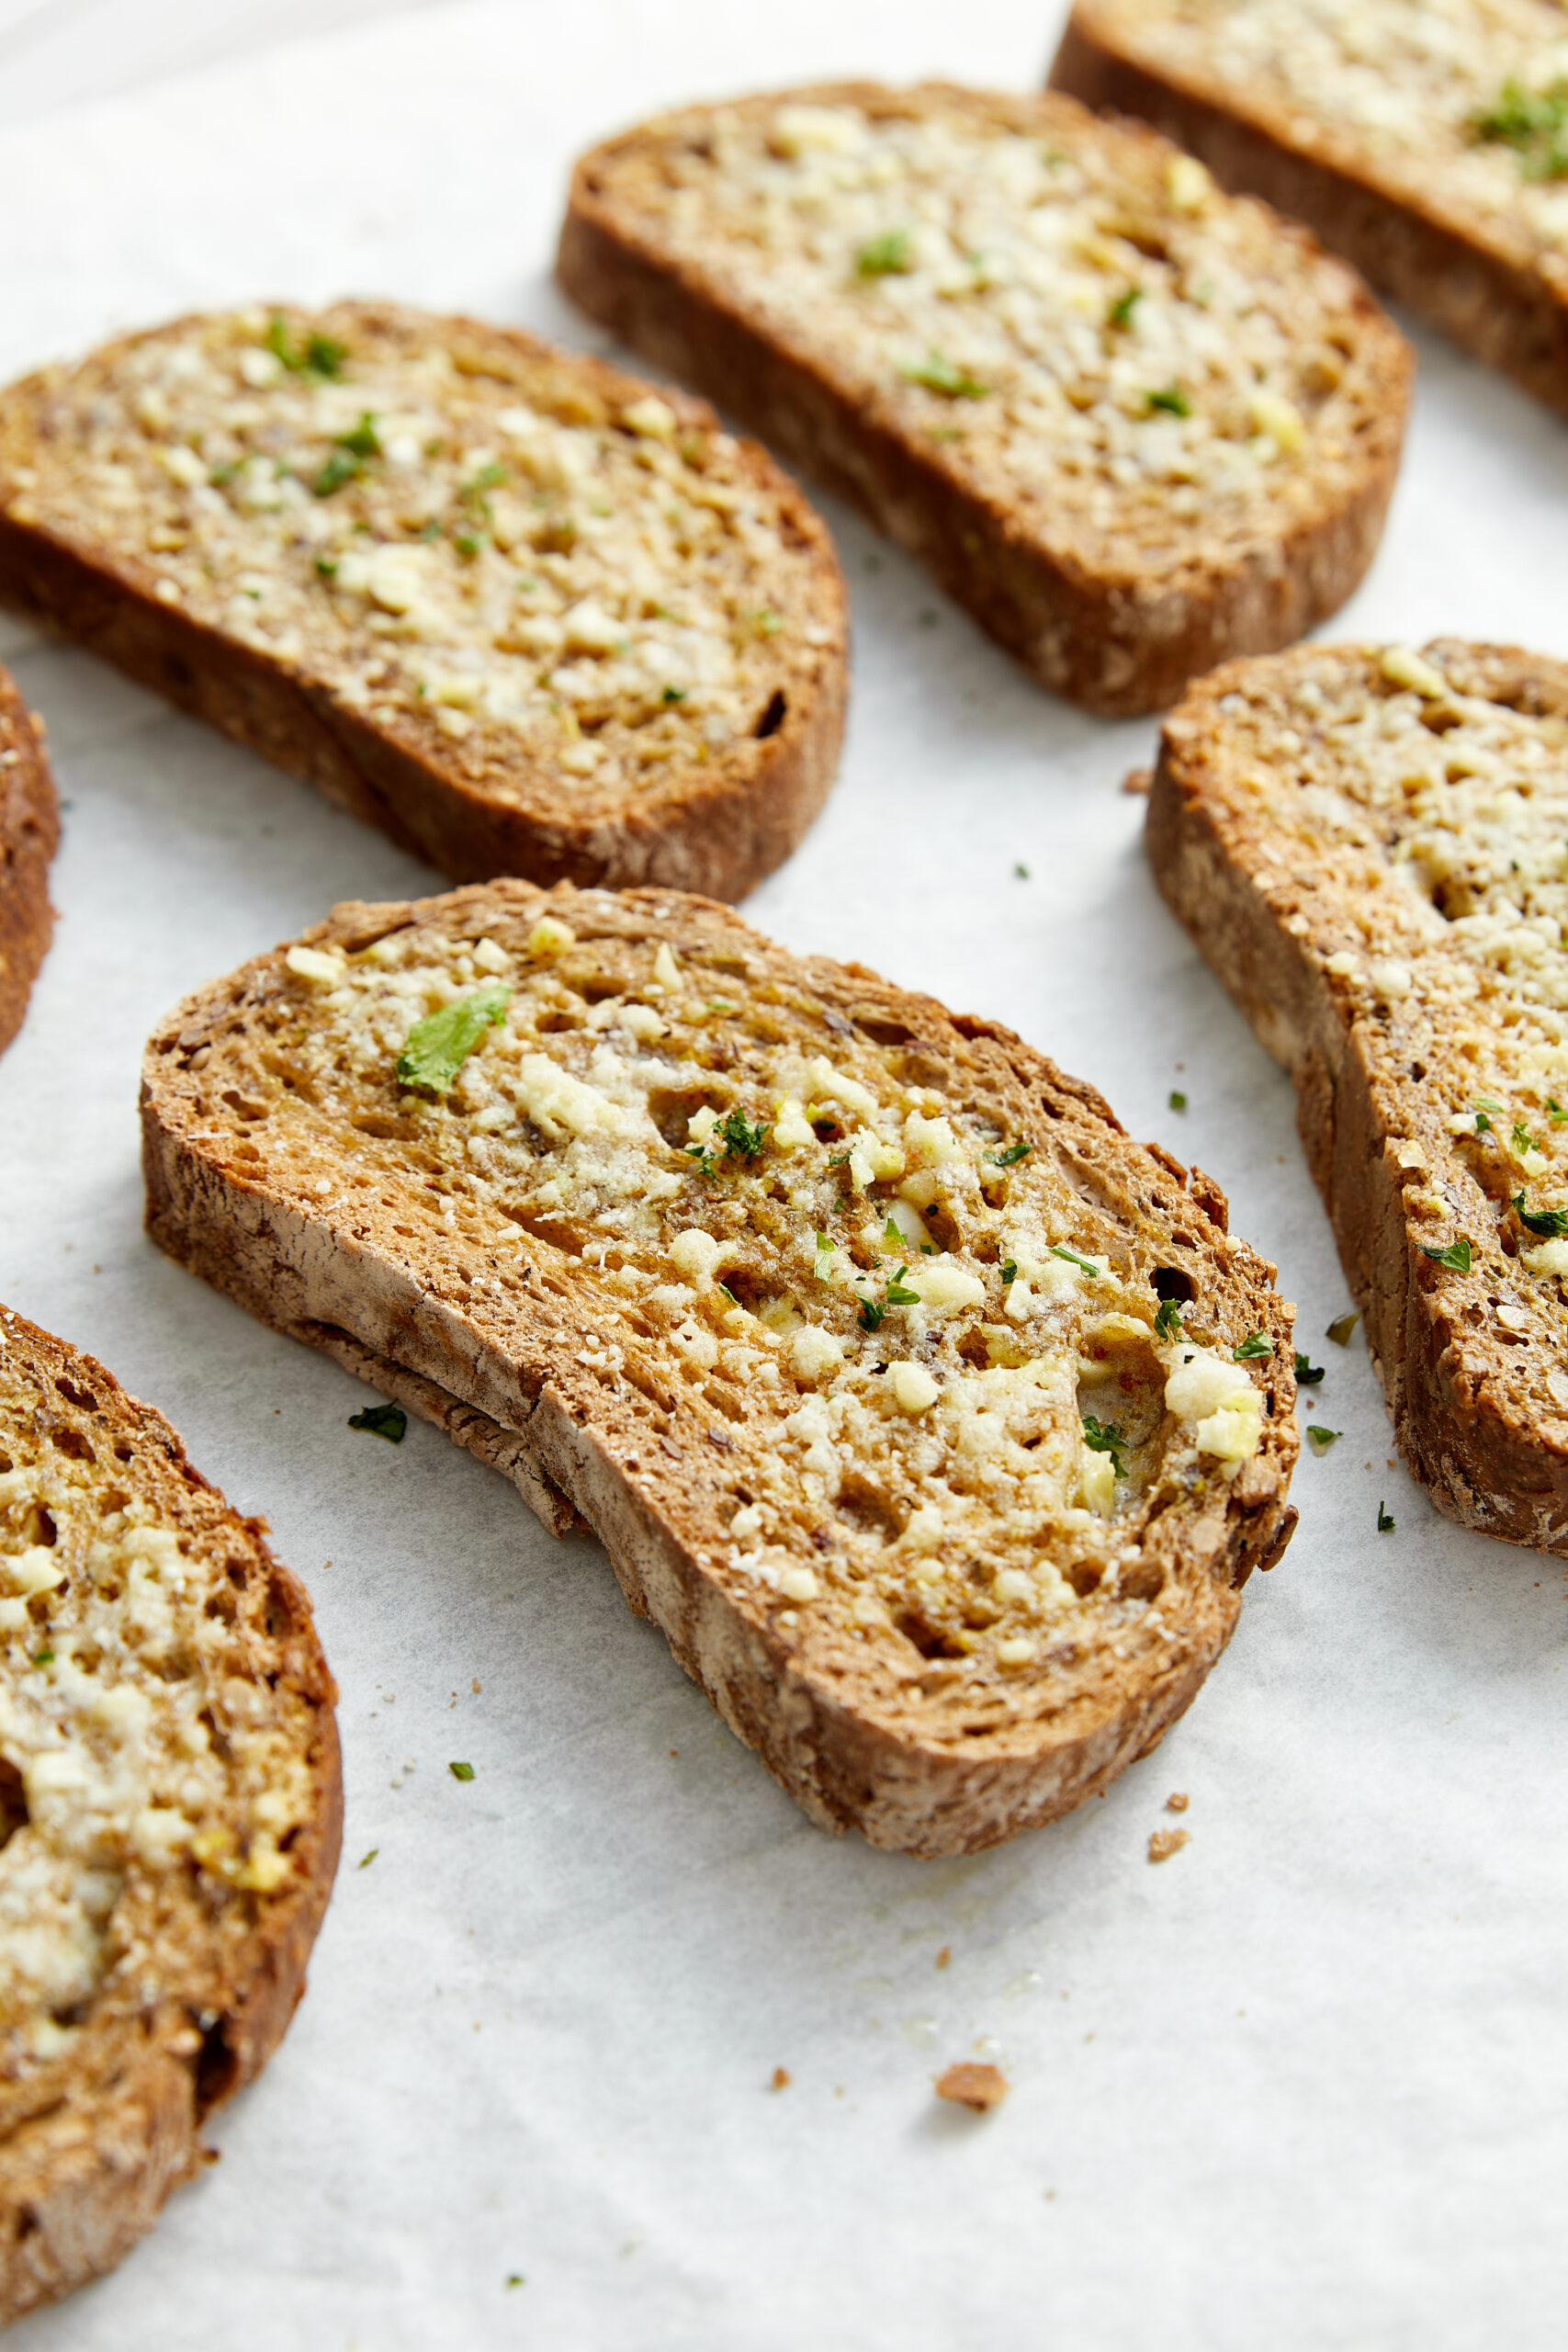
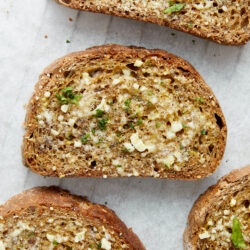
Inspired by my Italian-American heritage, garlic toast has become a staple in our household. It’s simple and easy to make, and it causes the whole kitchen to smell like a cheesy, garlicky paradise. What kind of cheese, you might ask? Well, this recipe calls for an optional dusting of Parmesan, which is a savory classic. But I like to jazz it up even more by adding a layer of fresh mozzarella. This makes the garlic toast turn out all ooey-gooey and irresistible, and it only takes a minute or two more in the oven to melt the cheese.
Overall, garlic toast is a brilliant way to either start a meal or complement it. I’ve had it for an appetizer, which tided me over perfectly while I awaited dinner. I’ve also enjoyed it as a side to pasta and meatballs, which was a classic combo in my childhood. One buttery bite of garlic toast is enough to make me exclaim, “Bellissimo!”
Which kind of bread is best?
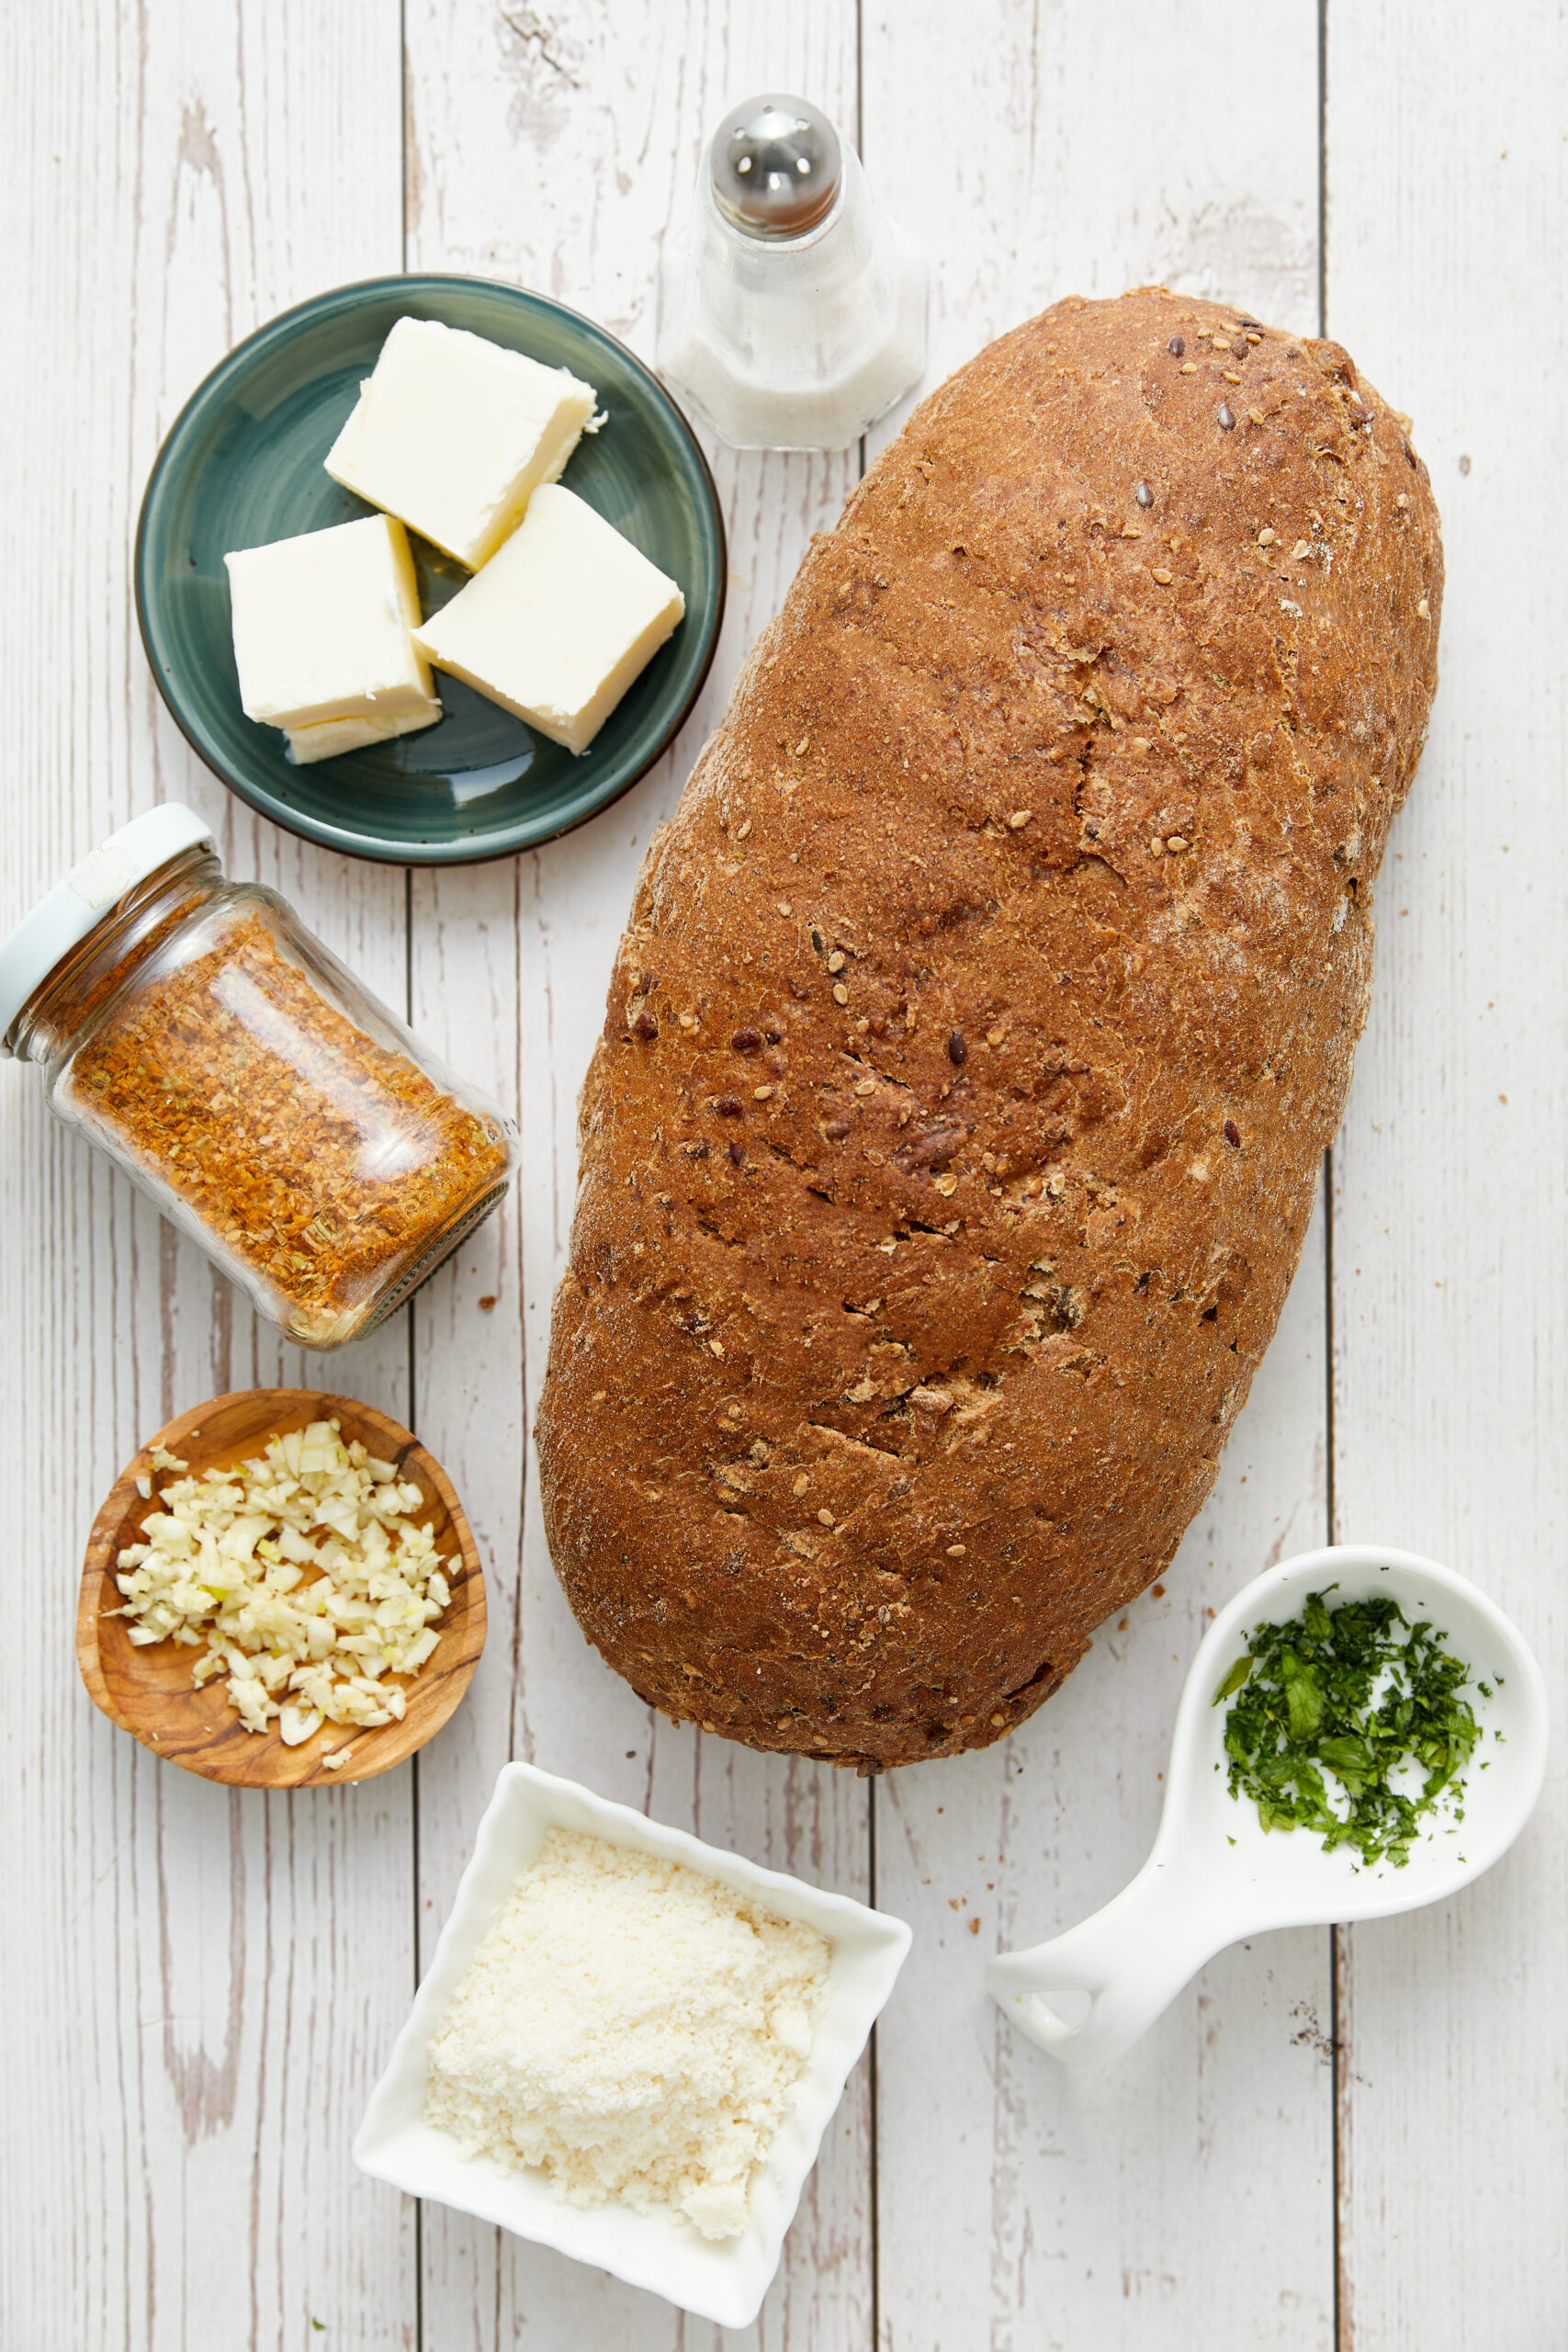
As you can see, this recipe calls for French or Italian bread, which are both hearty and crisp up nicely in the oven. But truly, you can use any kind of bread you’d like, as long as it’s thick enough to hold the garlic butter without getting soggy. I also find Texas toast bread to be a fluffy, yummy alternative—which my husband favors because the crust browns easily while the inside remains extra soft. Whichever loaf you use, make sure there are 12 slices at your disposal, and you’re all set.

How do I store leftovers?
While garlic toast is best enjoyed fresh out of the oven, you can store leftovers easily in an airtight container. Refrigerate for 1-2 days and then heat your slices up in the oven at 350°F for 3-4 minutes, until they’re crispy again. Alternatively, place the garlic toast in a freezer-safe bag and freeze for up to 3 months. With this method, reheating will take 10-12 minutes in the oven at the same temperature.
Similar recipes to try
If garlic toast isn’t cheesy enough for you, then try this crowd-pleaser: Cheesy Garlic Bread. I love making this one for parties, to serve my guests while I finish the main course. However, there are many other kinds of bread which you can easily craft from scratch to keep your guests from going hungry. For a satisfying loaf with fewer carbs, try Keto Cauliflower Bread or Low-Carb Almond Flour Bread. Both of these are gluten-free, yet incredibly delectable and dynamic.
Garlic Toast Recipe
Ingredients
- 1/4 cup unsalted butter softened
- 2 garlic cloves finely minced
- 1/4 teaspoon salt plus more to taste
- 1/4 teaspoon dried Italian seasoning
- 1 loaf or baguette of hearty bread such as French or Italian
- Parmesan cheese finely grated, for optional garnish
- Fresh parsley finely chopped, for garnish
Instructions
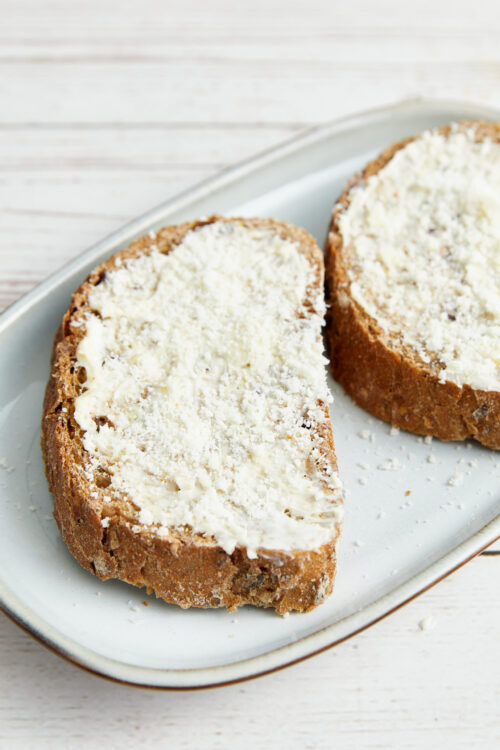
- In a small bowl, mix the softened butter, minced garlic, salt, and dried Italian seasoning until well combined. Adjust seasoning as needed.

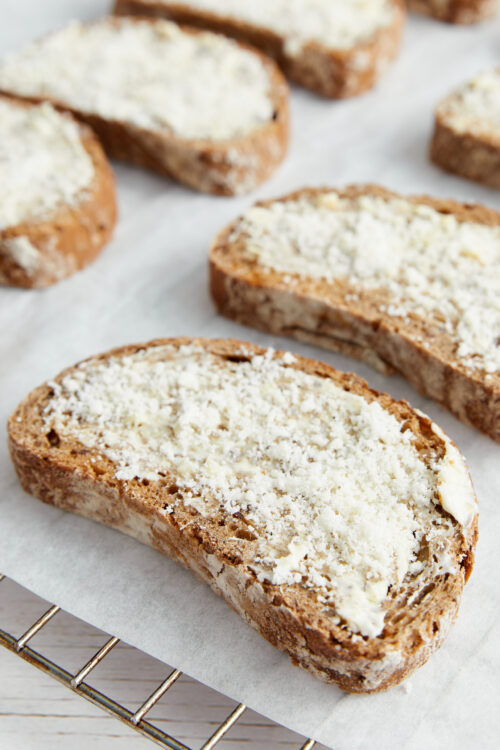
- Cut the loaf into 12 thin slices.

- Preheat your oven to 350°F. Spread the garlic butter mixture on both sides of each bread slice (the bottom only needs a very thin layer). If using, sprinkle some Parmesan cheese on the top of each slice.
- Arrange the slices on a baking sheet and bake for about 4-5 minutes, or until the edges are lightly golden and crisp. Flip the slices and return to the oven to briefly bake the other sides of the toast if desired. Serve warm, garnished with fresh parsley.

Leave a Comment