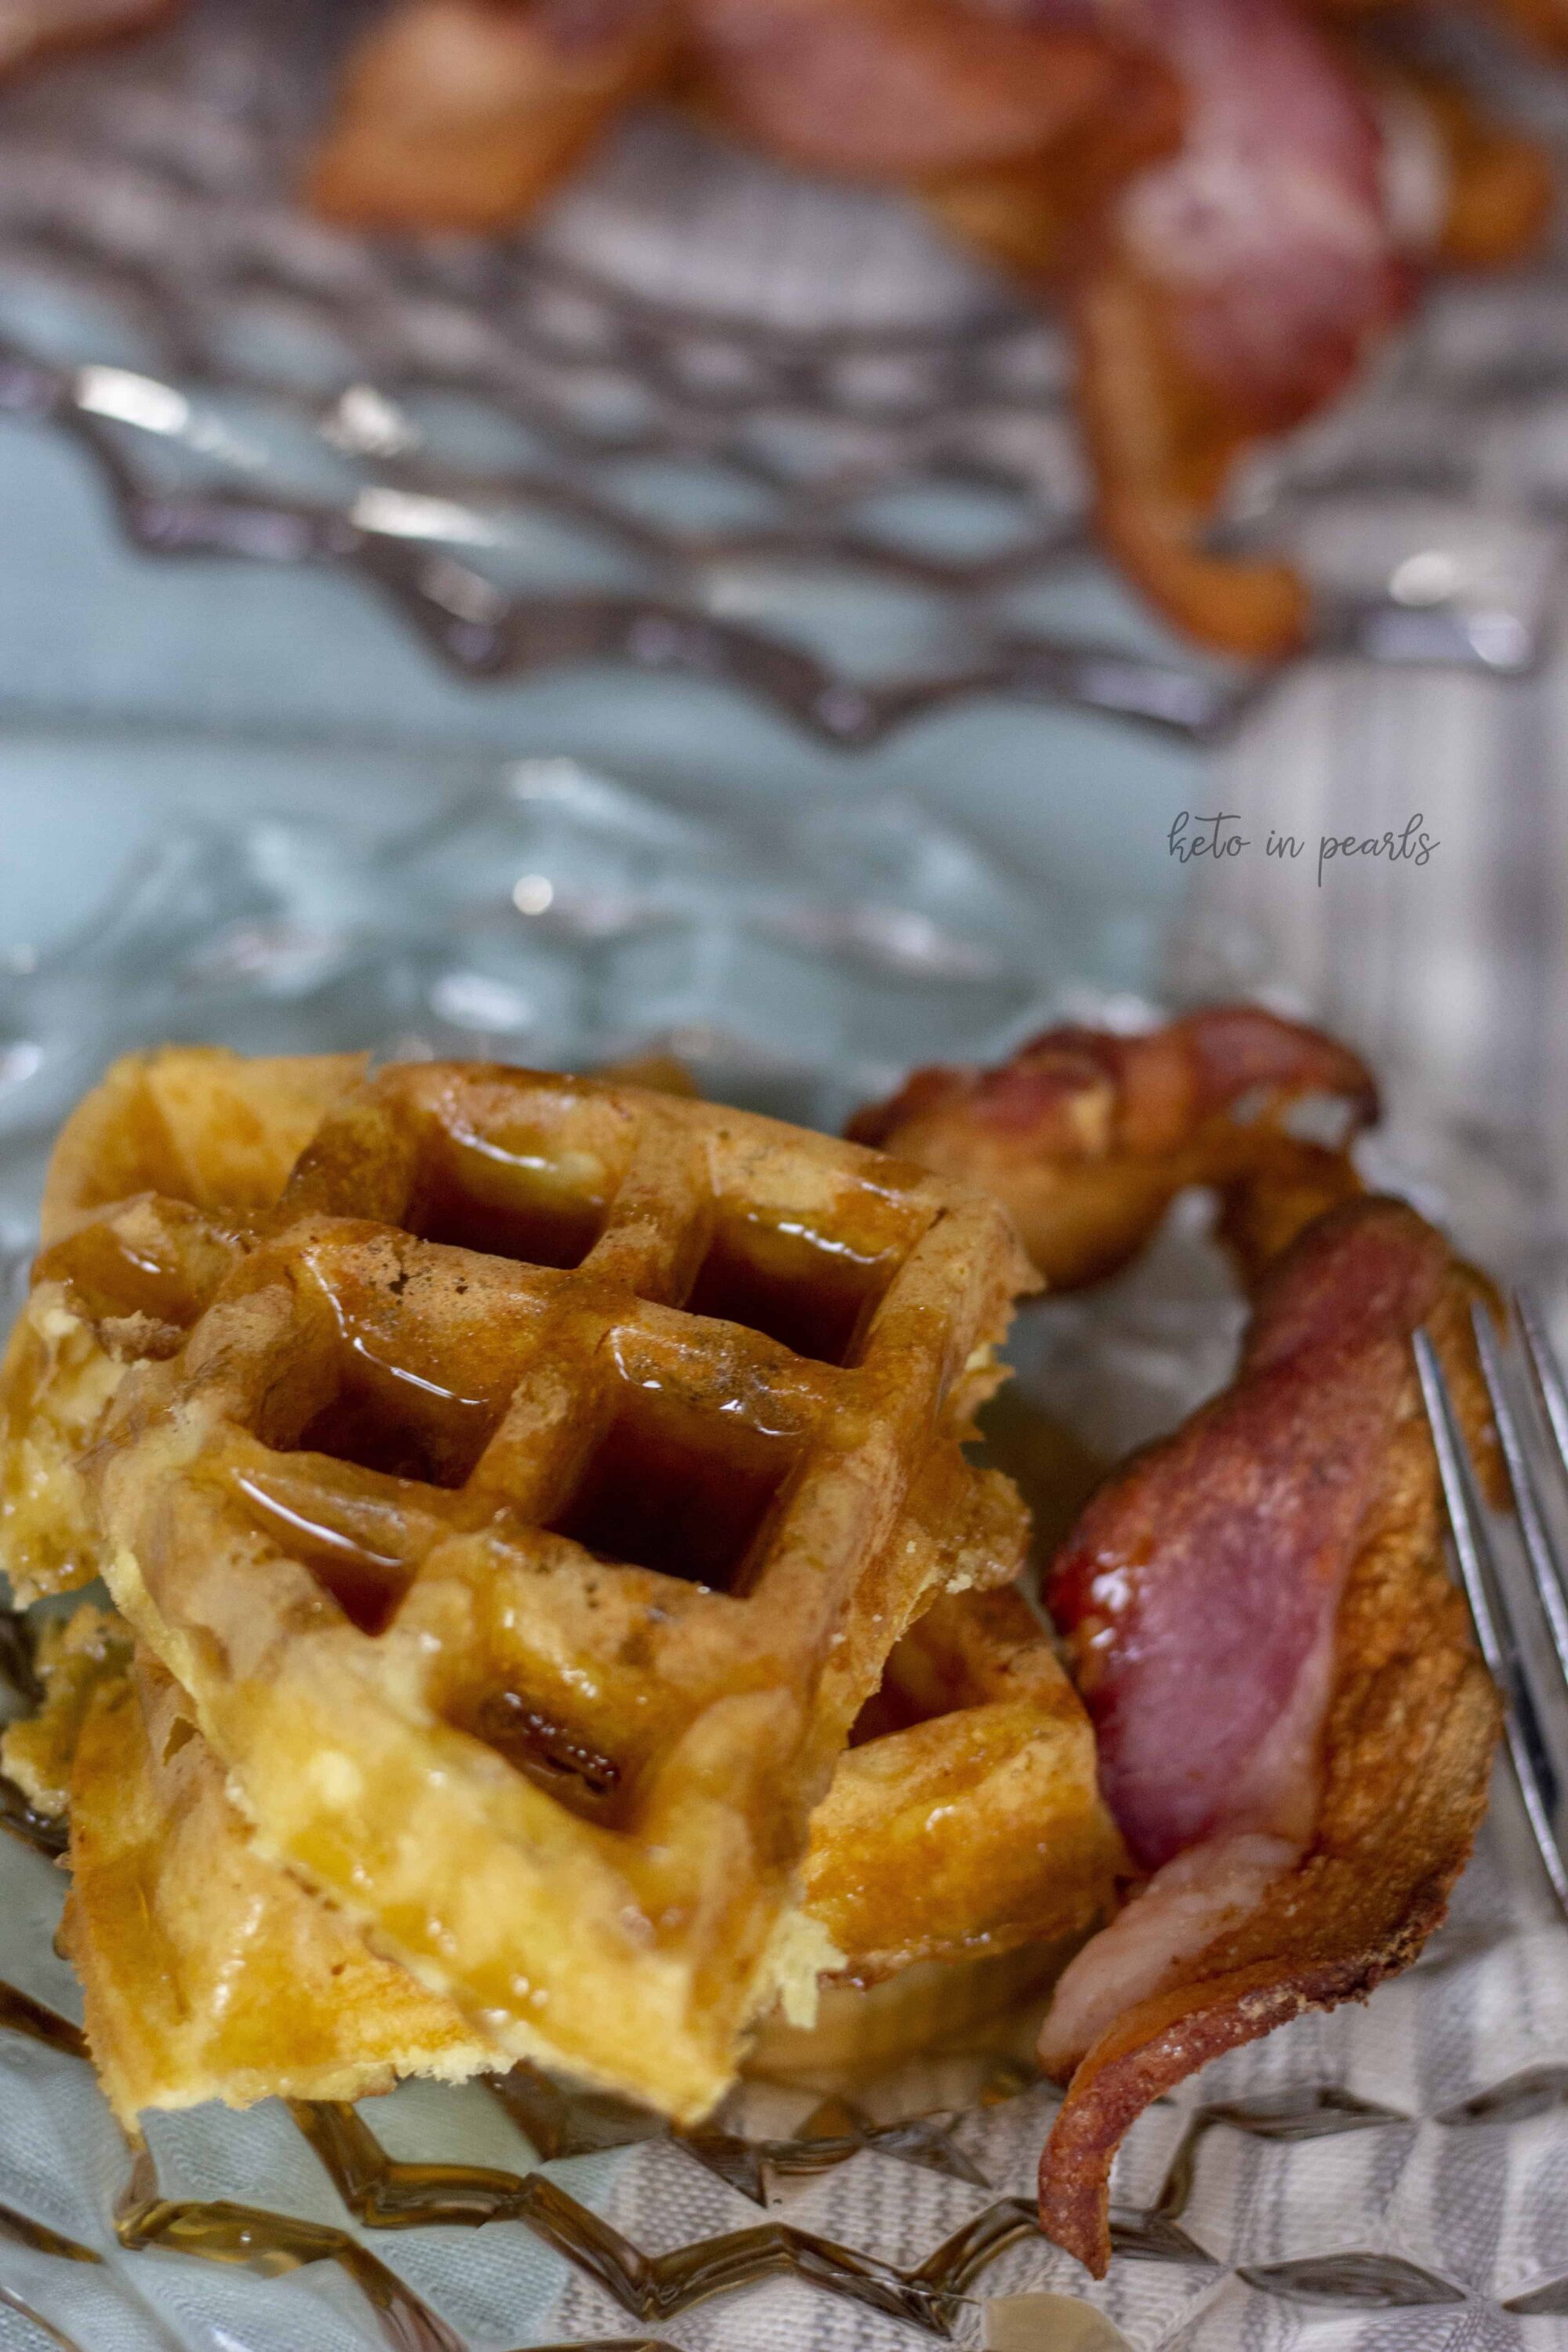
Enjoy rich, buttery waffles any day of the week with this low-carb, grain-free, gluten-free recipe that’s plate-ready in less than half an hour!
Waffles were not a common breakfast in my childhood home. My mom would make pancakes most weekends, accompanied by sausage links that I loved to dip into syrup. But once my brothers and I discovered those frozen waffles that sprang hot and buttery out of the toaster, no pancakes were good enough for us.
Once I embraced a low-carb lifestyle, I gave up both pancakes and waffles. I tried a few store-bought versions early on that claimed to be high-protein or low-carb, but they were seriously disappointing. Then I awoke one weekend to the unmistakable aroma of batter cooking in a waffle iron. Turns out, my partner was cooking these waffles to surprise me with breakfast in bed. I was so touched by the gesture that I didn’t even inquire about the carb count—I simply reveled in the rich, buttery vanilla flavors and light, fluffy textures of a forbidden food!
He told me after I’d cleaned my plate that the recipe was grain-free and low-carb. It was a relief that I hadn’t tanked my dietary goals but also a shock. I’d put these waffles up against nearly any others, store-bought or homemade. He said they were quick and easy to make, and I can attest to their deliciousness. They’ve become a regular weekend treat and an occasional weeknight dinner, sometimes infused with cheese or herbs and usually paired with bacon strips or sausage links.
Custom waffles for breakfast, lunch, or dinner
These waffles aren’t just for the weekend! You can get really creative with this recipe and customize it for sweet or savory flavors that complement any meal. Limit your mix-ins to about one-half to three-quarters cup per batch, and make sure to chop any large ingredients finely to maintain a consistent batter. Also, keep a close eye on them as they cook. Batters with fruit added will be wetter and may need an extra minute or two in the iron, while cheesy add-ins can cook more quickly.
Sweet variations: Blueberries, raspberries, or chopped strawberries create fruity waffles. Chocolate chips, chopped nuts, or a dash of cinnamon bring dessert vibes to the table.
Savory options: Fold in half a cup of shredded cheddar, mozzarella, or pepper jack for cheesy waffles, perhaps with fresh herbs like chopped chives or parsley for a subtle kick. Finely chopped cooked bacon, ham, or green onions make for heartier fare.

How do I store leftovers?
Once your waffles have cooled completely, store them in an airtight container or resealable bag in the fridge for up to 5 days. You can also freeze them for up to 3 months. Simply flash-freeze them for 1 hour on a baking tray before transferring them to a resealable bag or freezer-safe container. Reheat directly from the fridge or freezer; no thawing required. For the best crispness, pop your waffles into a toaster or toaster oven for 2–4 minutes until heated through and lightly crisped. You can also reheat them in a 350°F oven for 5–7 minutes. Microwaving for 20–30 seconds will work in a pinch, but the waffles will come out softer and less crispy.
Similar recipes to try
Hungry for more low-carb breakfast favorites? Check out this quick and easy Keto Pancakes Recipe, this recipe for a Keto Everything Bagel that relies on fathead dough for a traditional texture, and this grain-free recipe for tender, fruity Keto Blueberry Muffins.

Saturday Morning Waffles
Ingredients
- 4 eggs
- 3/4 cup water
- 1 teaspoon vanilla extract
- 2 tablespoons sugar-free vanilla syrup optional
- 1/4 cup butter melted and cooled
- 1 1/2 cups almond flour
- 3 tablespoons coconut flour
- 2 tablespoons granulated sugar substitute
- Pinch of salt optional
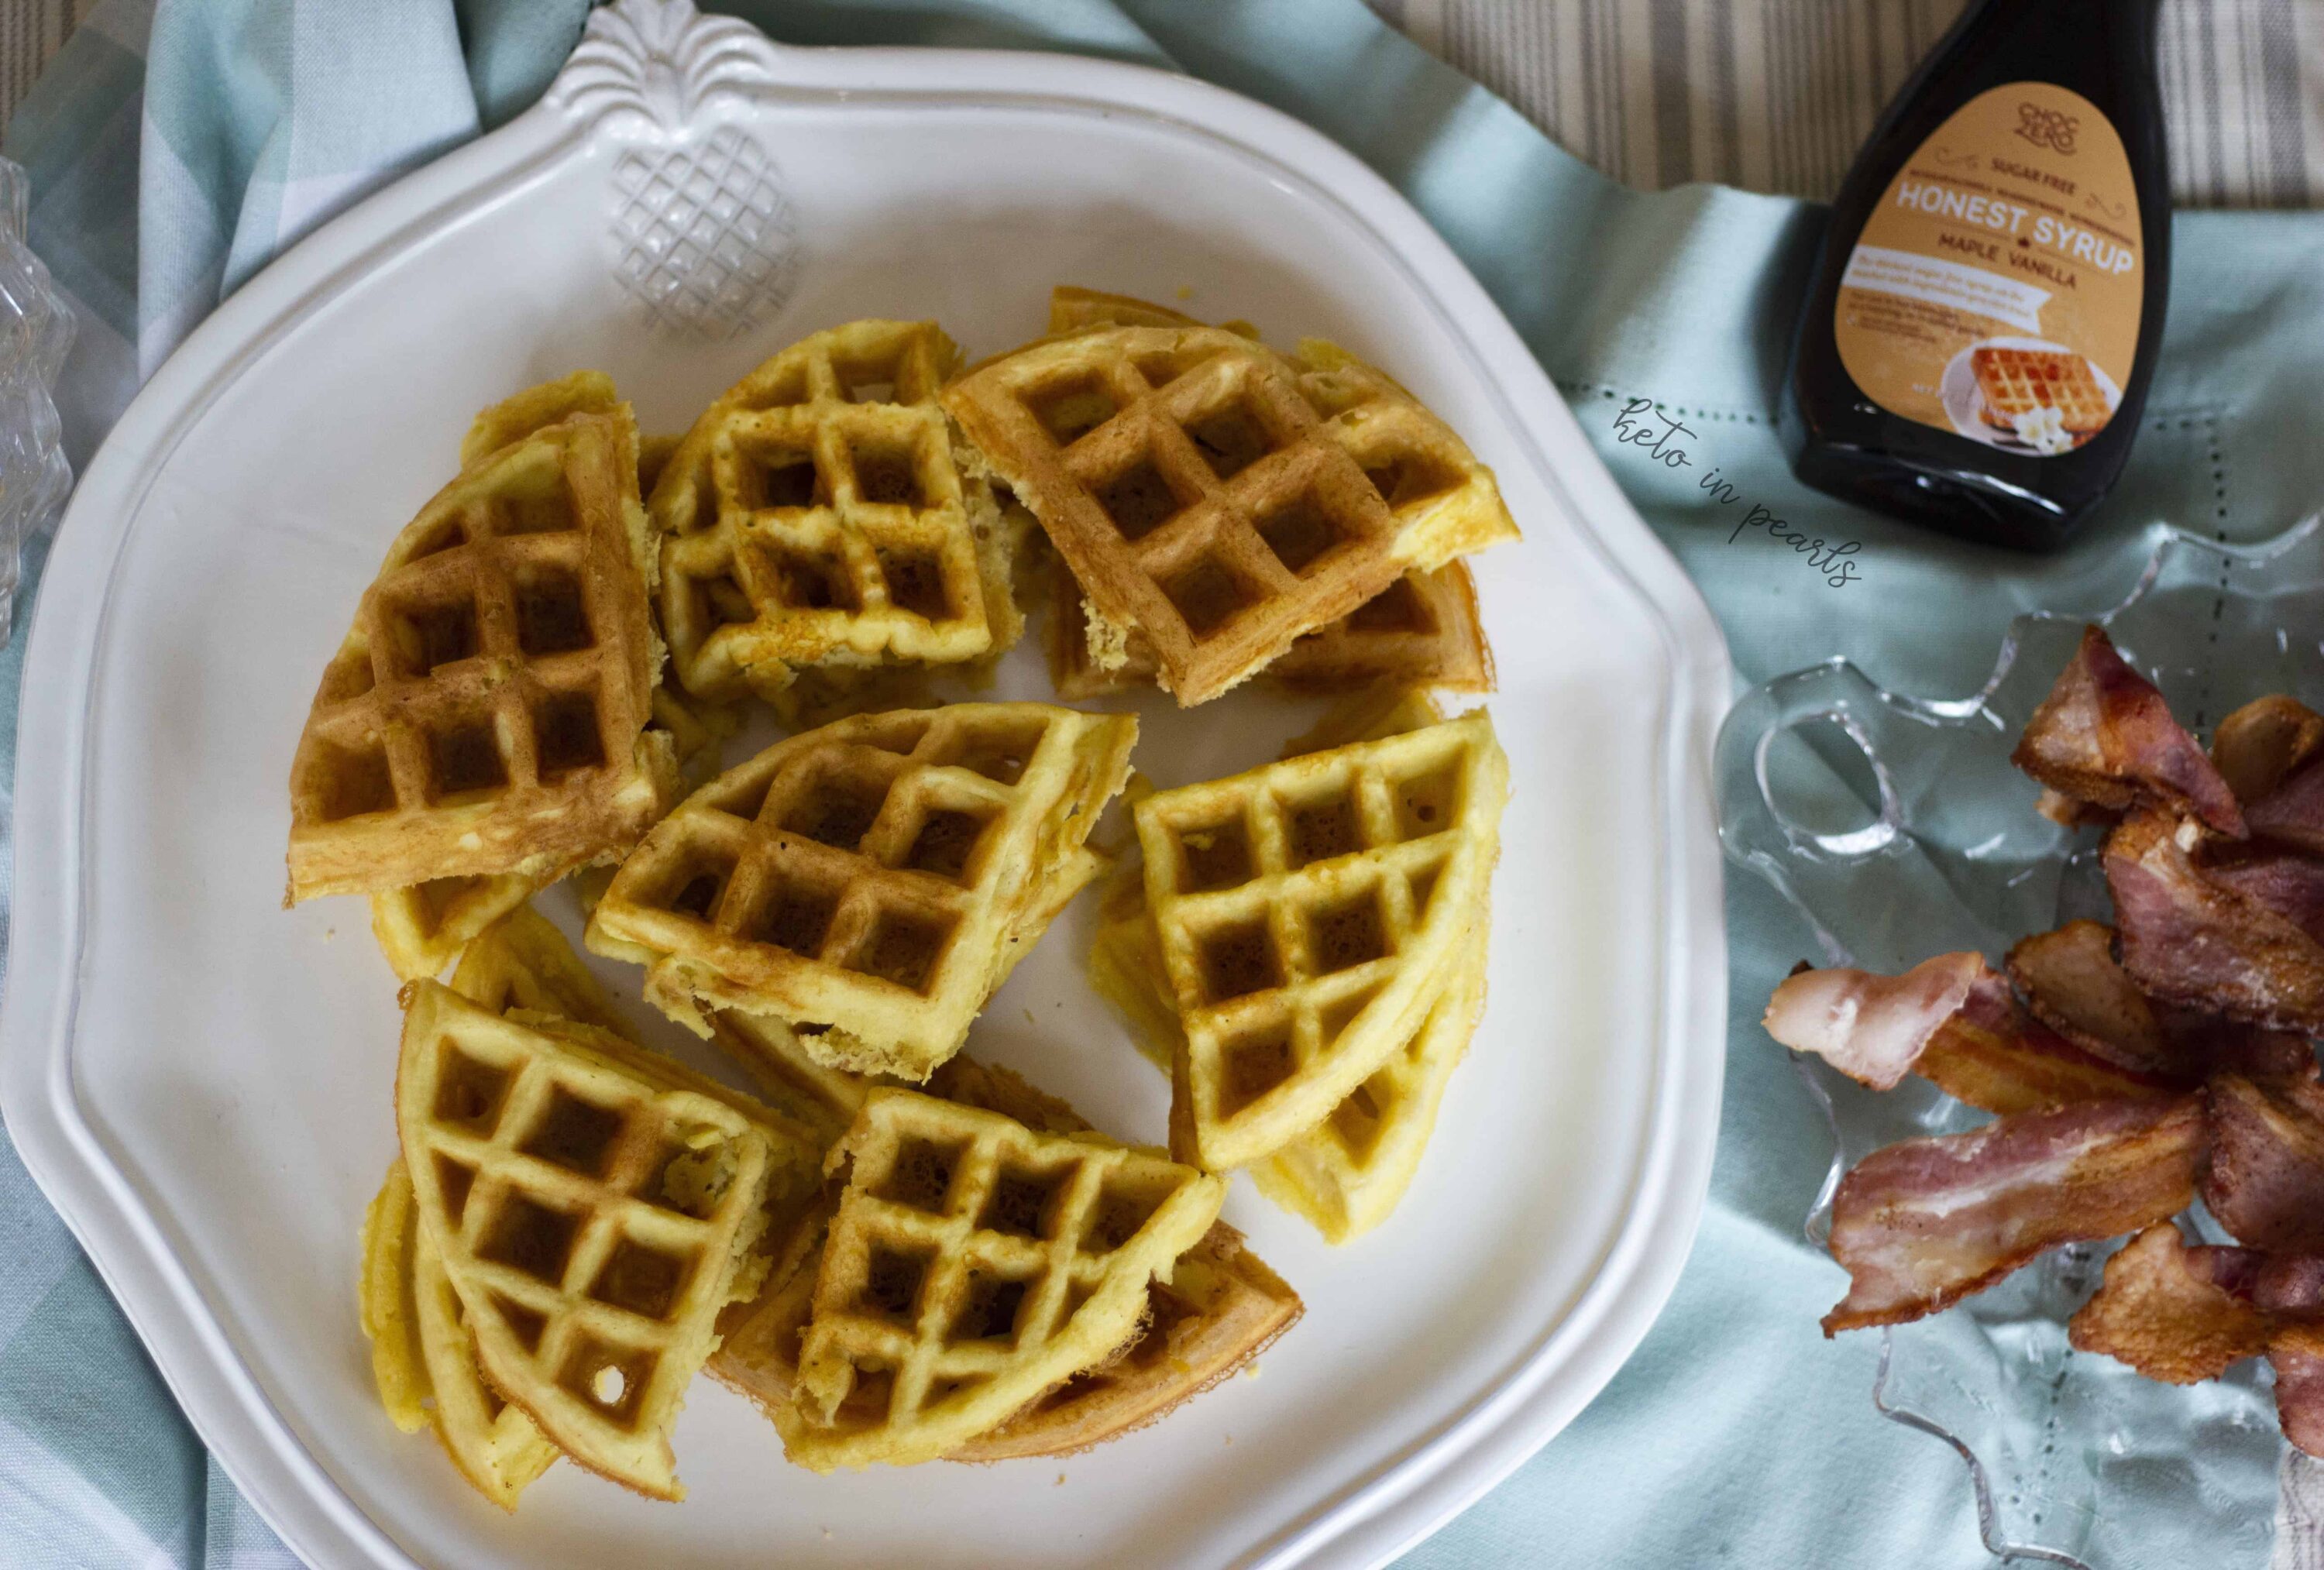
- Sugar-free maple syrup, berries, butter optional, for serving
Instructions
- Preheat your waffle iron according to manufacturer instructions.
- Add the eggs, water, vanilla extract, and sugar-free vanilla syrup to a blender or food processor.
- Pour in the melted and cooled butter. Add the almond flour, coconut flour, sugar substitute, and salt if desired.
- Blend or pulse until the mixture is fully combined and smooth, stopping to scrape down the sides if needed.
- Let the batter rest for at least 5 minutes to allow the coconut flour to absorb the liquid.
- Lightly spray or brush the waffle iron with nonstick spray or melted butter.
- Pour about 1/2 cup batter into the center of the hot waffle iron. If yours is smaller or larger than a standard-sized waffle maker, you may need to adjust this amount up or down.
- Close the lid and cook until the waffle is golden brown and the iron’s indicator shows it’s done, typically about 2–3 minutes.
- Carefully remove the waffle using a fork or spatula. Transfer it to a plate or keep warm in a low oven.
- Repeat with the remaining batter, greasing the iron as needed between waffles.
- Serve warm with sugar-free maple syrup, berries, butter, or your favorite toppings.


Leave a Comment