Eating keto doesn’t mean you have to close the book on pizza. This Chicken Alfredo Pizza recipe lets you stick to your diet and still indulge in creamy, cheesy, meaty meals and not have any guilt about it!

One of the biggest advantages of eating keto is the FOOOOD! But a lot of people struggle to give up pizza when they make the switch to a ketogenic diet. Pizza has a gazillion carbs so it’s a no-brainer that we can’t eat it. But don’t close this page yet! Because some geniuses came up with a keto-friendly pizza dough called Fat Head dough. And let me tell you, it is DELICIOUS! There are several different variations of Fat Head dough. The base of the dough is typically the same: mozzarella and cream cheeses. HEAVEN! Here’s a link to the Fat Head recipe I used to make this particular Chicken Alfredo Pizza — the only difference is my addition of Italian seasoning.
Why Is It Called ‘Fat Head’ Dough?
It gets its name from a documentary called Fat Head, made by low-carb advocate Tom Naughton in 2009. The recipe took off from there for those embracing the keto lifestyle. Mozzarella and cream cheese serve as the base, with an egg acting as the binding agent. It’s really versatile, as many adapters use the recipe to make breadsticks and calzones. I have also made a Fat Head pizza with sausage as the main ingredient in the “crust”.
What Are Some Keto-Friendly Variations Of Fat Head Pizza?
There are obviously numerous ingredient/topping combinations you can try. Now that you have a keto-friendly dough, you can approach it like you would a regular pizza. Here are some popular ones:
- Margherita: Go with a classic and top your Fat Head crust with tomato sauce, fresh mozzarella, and basil leaves.
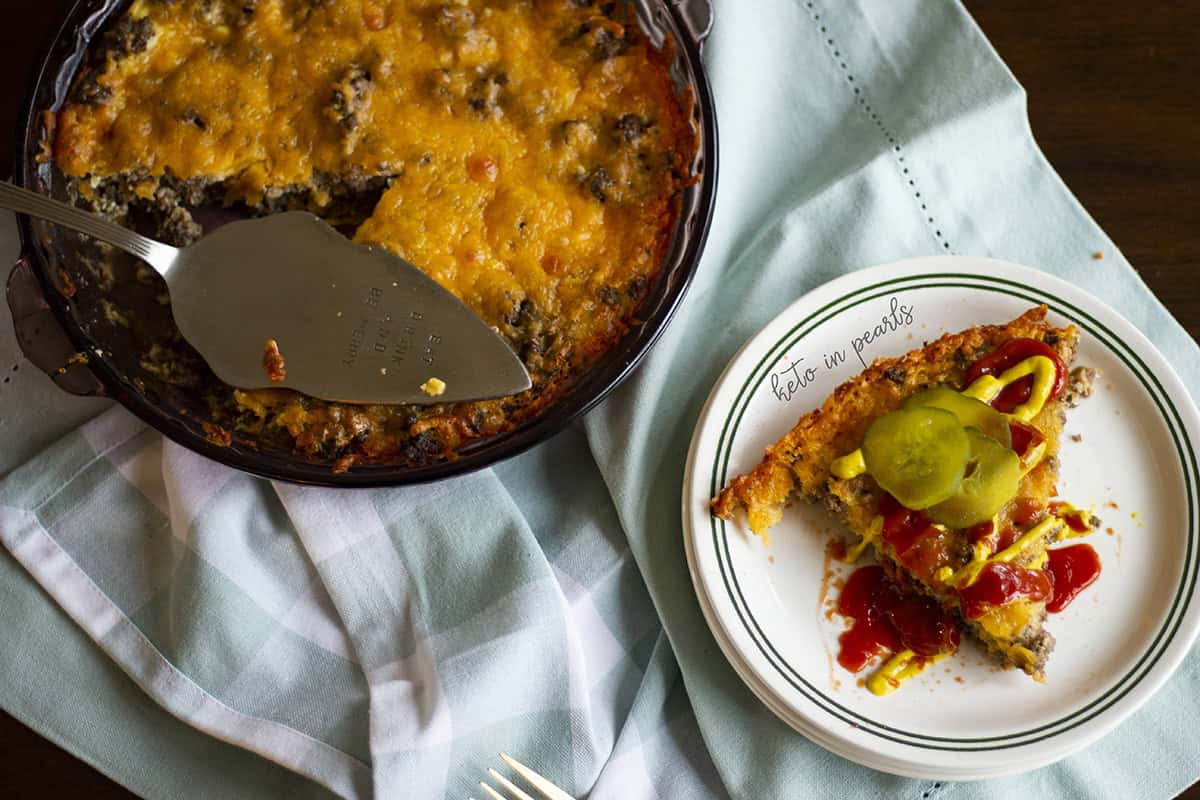
- Meat Lovers: Add pepperoni, sausage, bacon, or any other meat of your choice for a meat lover’s pizza (see above for a link to a recipe I developed that uses sausage as the crust!)
- Veggie: Keto-friendly vegetables such as bell peppers, mushrooms, onions, and olives.
- Greek: Mix together olive oil, garlic, and herbs, then add diced tomatoes, crumbled feta cheese, and black olives.
- Pesto: Slather basil pesto on your crust and top with mozzarella cheese and cherry tomatoes.
Ingredients
- 1 large chicken breast, thinly sliced
- Italian seasoning
- 1 tbsp butter
- 1 egg
- 1 cup heavy whipping cream
- 1 cup shredded parmesan cheese
- 1/2 cup shredded mozzarella cheese for the sauce
- 1 cup shredded mozzarella cheese for topping the pizza
- 1 oz cream cheese
- 1/2 tsp garlic powder
- 1/2 tsp parsley
- 1 tsp basil
- pinch of salt and pepper
Instructions
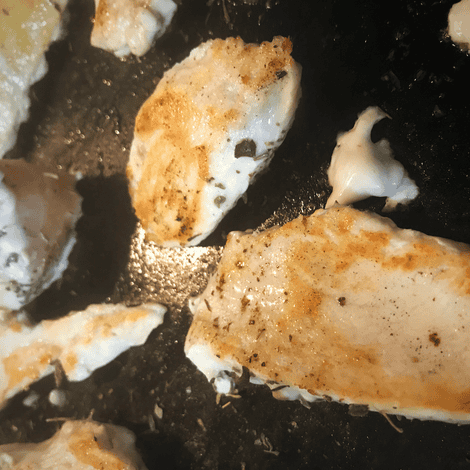
- Thinly slice your chicken into smaller pieces. I used a well seasoned cast iron skillet to cook mine so I did not use any added oil or butter but if you do, make sure to add it to your macros! Sprinkle some Italian seasoning on the chicken while it’s cooking. If it seems a little undercooked, that’s fine because it will finish off in the oven.

- While the chicken is cooking, preheat your oven for your pizza crust. Once all your chicken is done, make your Fat Head Dough according to the directions. It literally take 5 minutes! While your pizza crust is baking away, get started on your sauce. It comes together QUICK so have your mis en place (items in place)!

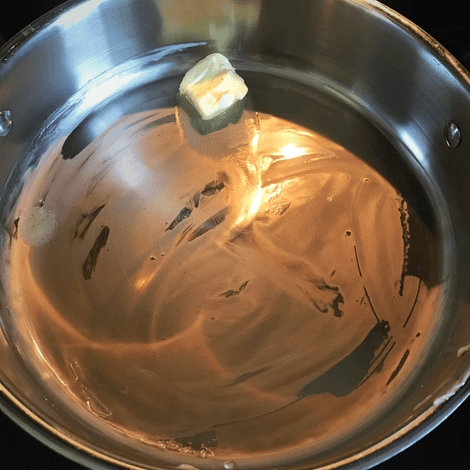
- Start by melting some butter in a skillet over MED-LOW heat. We will be whisking this constantly so a metal skillet is best. Add the cream and whisk it until the butter and cream are well combined. Next, add your spices and whisk them in.

- Now add your cheeses and whisk until they’ve all melted. Cream will burn so be sure to never. stop. whisking.

- Continue whisking. Your crust should be out of the oven at this point. Once the sauce starts bubbling around the edges of the pan, keep whisking a minute or so more. You’ll notice the sauce thicken. Once it does, remove it from the heat. This recipe yields about 2 cups of Alfredo sauce. We will use about half of that for the pizza.

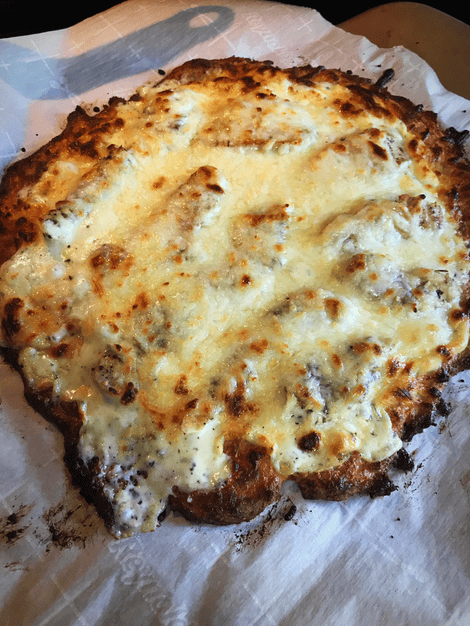
- Arrange your chicken on top of the pizza. Top with the remaining mozzarella. Stick back in the oven until all the cheese is bubbly.

And there you have it, ladies and gents! Chicken Alfredo Pizza! That’s drool worthy, if I do say so myself!

FAQs
My advice is to follow the steps in order so that everything is done and ready at the appropriate times. Since the crust is made from cheese, you don’t want to have it just sitting around waiting to be baked or you’ll run into the problem you did.
Yes. There are some who prefer to use coconut flour. I personally prefer the almond flour recipes but both work.
When you put the pizza back in the oven to make the cheese bubbly, set it to ‘Broil’ for a few minutes. I like to do this for a little crispness, too!
How To Store Chicken Alfredo Pizza On Fat Head Crust
Let the pizza cool completely. If you don’t, you run the risk of the moisture building up in the container and leaving your pizza soggy. Wrap it in plastic to prevent it from drying out. You can then keep it in the fridge for 3-4 days. You can also store it in the freezer for up to 2 months. Just wrap it really well to prevent freezer burn. When it comes time to reheat, you can microwave it, put it in the oven, or heat it on a pan until it is warmed through and the cheese has melted.

Chicken Alfredo Pizza On Fat Head Crust
Ingredients
- 1 large chicken breast thinly sliced
- Italian seasoning
- 1 tbsp butter
- 1 egg
- 1 cup heavy whipping cream
- 1 cup shredded parmesan cheese
- 1/2 cup shredded mozzarella cheese for the sauce
- 1 cup shredded mozzarella cheese for topping the pizza
- 1 oz cream cheese
- 1/2 tsp garlic powder
- 1/2 tsp parsley
- 1 tsp basil
- pinch of salt and pepper
Instructions
- Cook chicken over med-high heat. Sprinkle with Italian seasoning while cooking. Remove pan and set aside.

- In a separate skillet over med-low heat, met butter and cream. Whisk to combine. Add spices and continue whisking. Add cheese and continue whisking until sauce becomes slightly bubbly and thickened.

- Top pre-baked pizza crust with approximately 1 cup of sauce. Top with chicken adn remaining mozarella. Bake in 425 degrees oven until cheese is bubbly. Place under broiler for 1-2 minutes, if desired, for added texture and color.

Leave a Comment